


What you will get
People who want to make short knowledge videos without appearing on camera can give their script to an AI agent that can read and write files, such as Claude Code or Codex. The agent follows an open-source Skill to make a journal-style explainer video. The visuals are cards, step bars, and your own screenshots, and the audio is a voice-over. The article includes 2 prompts you can copy and use as they are.
Set aside the expectation of a one-click video. The key to this approach is having the AI stop after each step and wait for your approval before it moves on. You check the voice-over, the materials, and the first three seconds. The AI handles layout, editing, and checks.

Why approve one checkpoint at a time
Give an AI a single sentence and ask for the whole video at once, and the usual result is narration that does not read well or visuals that do not match the lines. Then the whole video has to be redone. Splitting the work into checkpoints catches these problems while they are cheapest to fix:
-
Review the voice-over first: a wrong pronunciation of a proper noun or an odd pause cannot be fixed by better visuals.
-
List the materials before building: you can see at a glance which line has which visual and what is missing.
-
Test only the first three seconds: font size, layout, and pacing show problems within three seconds, so you do not have to wait for the full render.
Step 1: Prepare four things
Get these ready before you start. Changing them halfway through takes the most time:
-
One sentence on the topic and the audience, then pick the platform and aspect ratio. The default is 16:9 landscape. A vertical video needs a new layout, not just a different export size.
-
A final script. Every number and claim has been checked against a source. The AI will not edit it for you.
-
Your own screenshots or screen recordings. Mask account names, balances, and avatars first.
-
A voice-over. Record it yourself, or generate it with a voice tool you have the right to use. Do not clone someone else's voice.
Step 2: Have the agent install the Skill
Open Claude Code or Codex and send this one line:
Install this Skill for me: https://github.com/VaneAi888/vane-faceless-koubo-skill . Read the README first, then install it into your skills directory as the README describes.
After it is installed, check that the tools for making videos (Python, Pillow, ffmpeg, a Chinese font) are all present. Tell me what is missing first, and wait for my agreement before installing anything.
After the install, open a new conversation. The rules the agent must follow and the scripts it uses are on the Skill page for faceless explainer videos.
Step 3: Send the first task brief
In a new conversation, send the text below. Replace the brackets with your own content:
Sign in to unlock this key section
New accounts get 10 free credits, plus 1 more for each daily check-in. Spend 1 credit to unlock and it stays open for you.
Item 2 matters most. It splits a one-shot "generate" into five checkpoints where you can stop the agent. Item 5 keeps the agent from clicking publish for you just to finish.
Step 4: Listen to the voice-over before the material list
The first thing the agent sends back is the voice-over and the text. Listen to all of it, from start to finish, and focus on proper nouns, English abbreviations, and numbers. If it changes any word, have it update the voice-over and the subtitles together.
After the voice-over passes, the agent lists the materials line by line. Each row says which visual goes with that sentence and where the material comes from:

When you review the list, ask yourself three things. Is there a line with no matching visual? Is an unrelated web image being used as filler? Are the charts based on real data, and if not, are they labeled "illustrative"?
Step 5: Make only the first three seconds
Once the list and the storyboard pass, do not make the full video yet. Have the agent render only the opening three seconds, using the final aspect ratio, font, and voice-over:
Make only the opening 3-second sample first, using the final aspect ratio, font, and voice-over. Send it to me when it is done, and wait for my approval before making the full video.
The Skill ships with a sample renderer. Below is one frame it produced, which shows roughly what the journal style looks like:
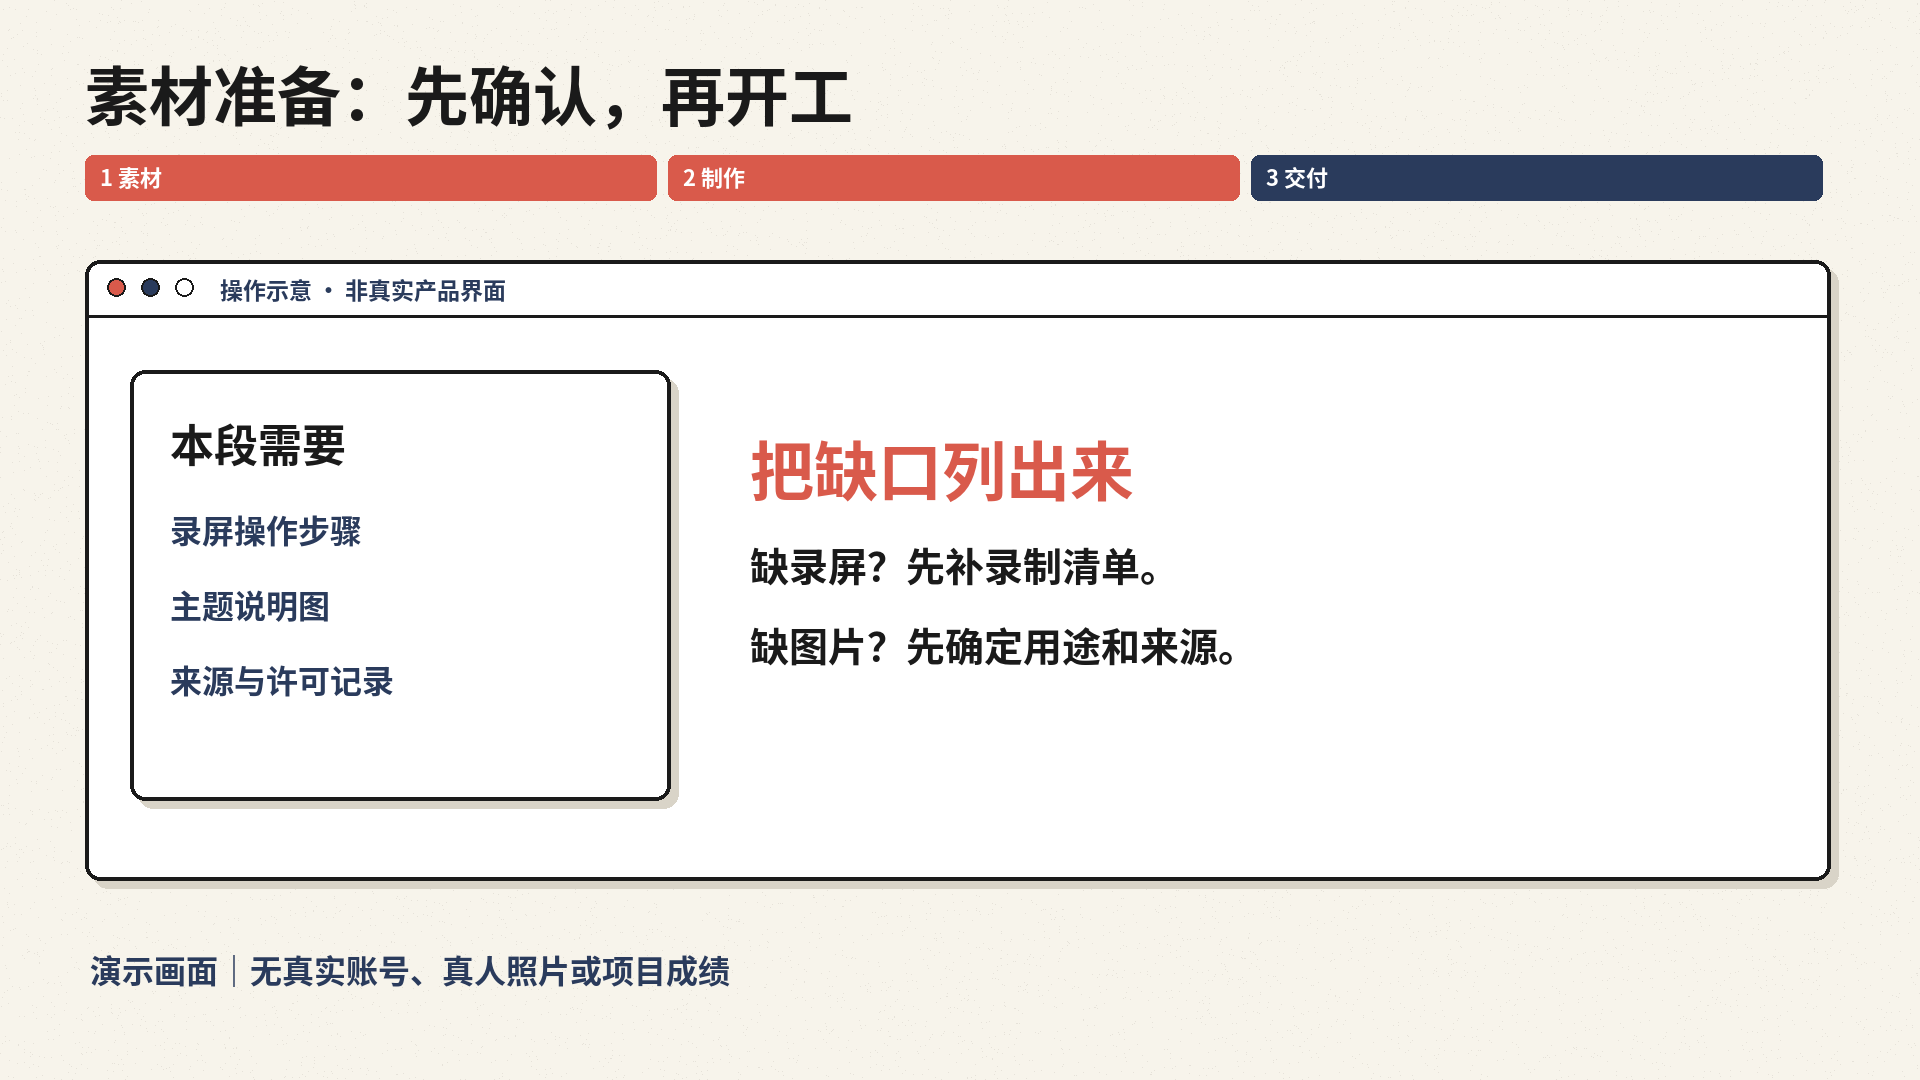
(Image from the project repository.)
Watch these three seconds on your phone. Is the text legible? Is the layout cramped? Do the sound and the on-screen text say the same thing? If the three seconds work, have the agent build out the full video.
Step 6: Watch the full cut, then publish it yourself
When the full cut is done, the agent runs a technical check on duration, resolution, and loudness. That only shows the file is not broken. You still need to watch and listen to all of it. Check the transitions, the audio-video sync, and whether any subtitles are covered. The agent lays out covers for 3:4, 4:3, and 16:9 separately.
When you are satisfied, publish it yourself.
Notes
-
It does not include a voice-over or screen recording. The Skill has no text-to-speech, no speech-to-text, and no automatic screen recording. You need to prepare these yourself.
-
The script is only a minimal example. The bundled renderer only does cards, subtitles, step bars, and still-frame display. Complex screen recordings and layered editing need an editing app.
-
The author's work cannot be reused. The real videos, voice-overs, and character images shown in the repository are not covered by the open-source license. They are for reference only.
-
The first video is slow. You approve all five checkpoints, so your first video takes much longer than a one-click generation. It gets faster once you are familiar with the process.
Comments (0)
No comments yet. Start the conversation.