

What You'll Get
A personal knowledge base the AI can both read and write: you take notes in Obsidian, and an AI coding assistant (such as Claude Code) checks your notes before answering questions, then organizes any new conclusions into notes and saves them back. It uses free tools and takes four steps, about half an hour in total.
Why Obsidian: It is one of the better choices for a personal knowledge base today. Notes are ordinary files on your computer, not locked on someone's server; notes can link to each other; and it ships with an official command line tool that AI can use directly.

First, Understand Why AI Needs Your Knowledge Base
Every AI conversation starts from scratch. It doesn't know what you decided last month, what conventions your project follows, or what pitfalls you've already hit. Write these into a notes library, then have the AI check it every time before it answers, and its responses will fit your actual situation instead of being generic.
Obsidian suits this for three reasons:
-
The files are in your hands: Every note is a Markdown text file stored in the folder you choose. Switching tools, backing up, and letting AI read them are all easy.
-
Notes form a network: Write
[[another note]]to link notes together, and the AI can follow links to find related content. -
An official "interface": Starting with version 1.12, Obsidian ships with a command line tool, and AI can use it to search, read, and write notes without any third-party plugin.
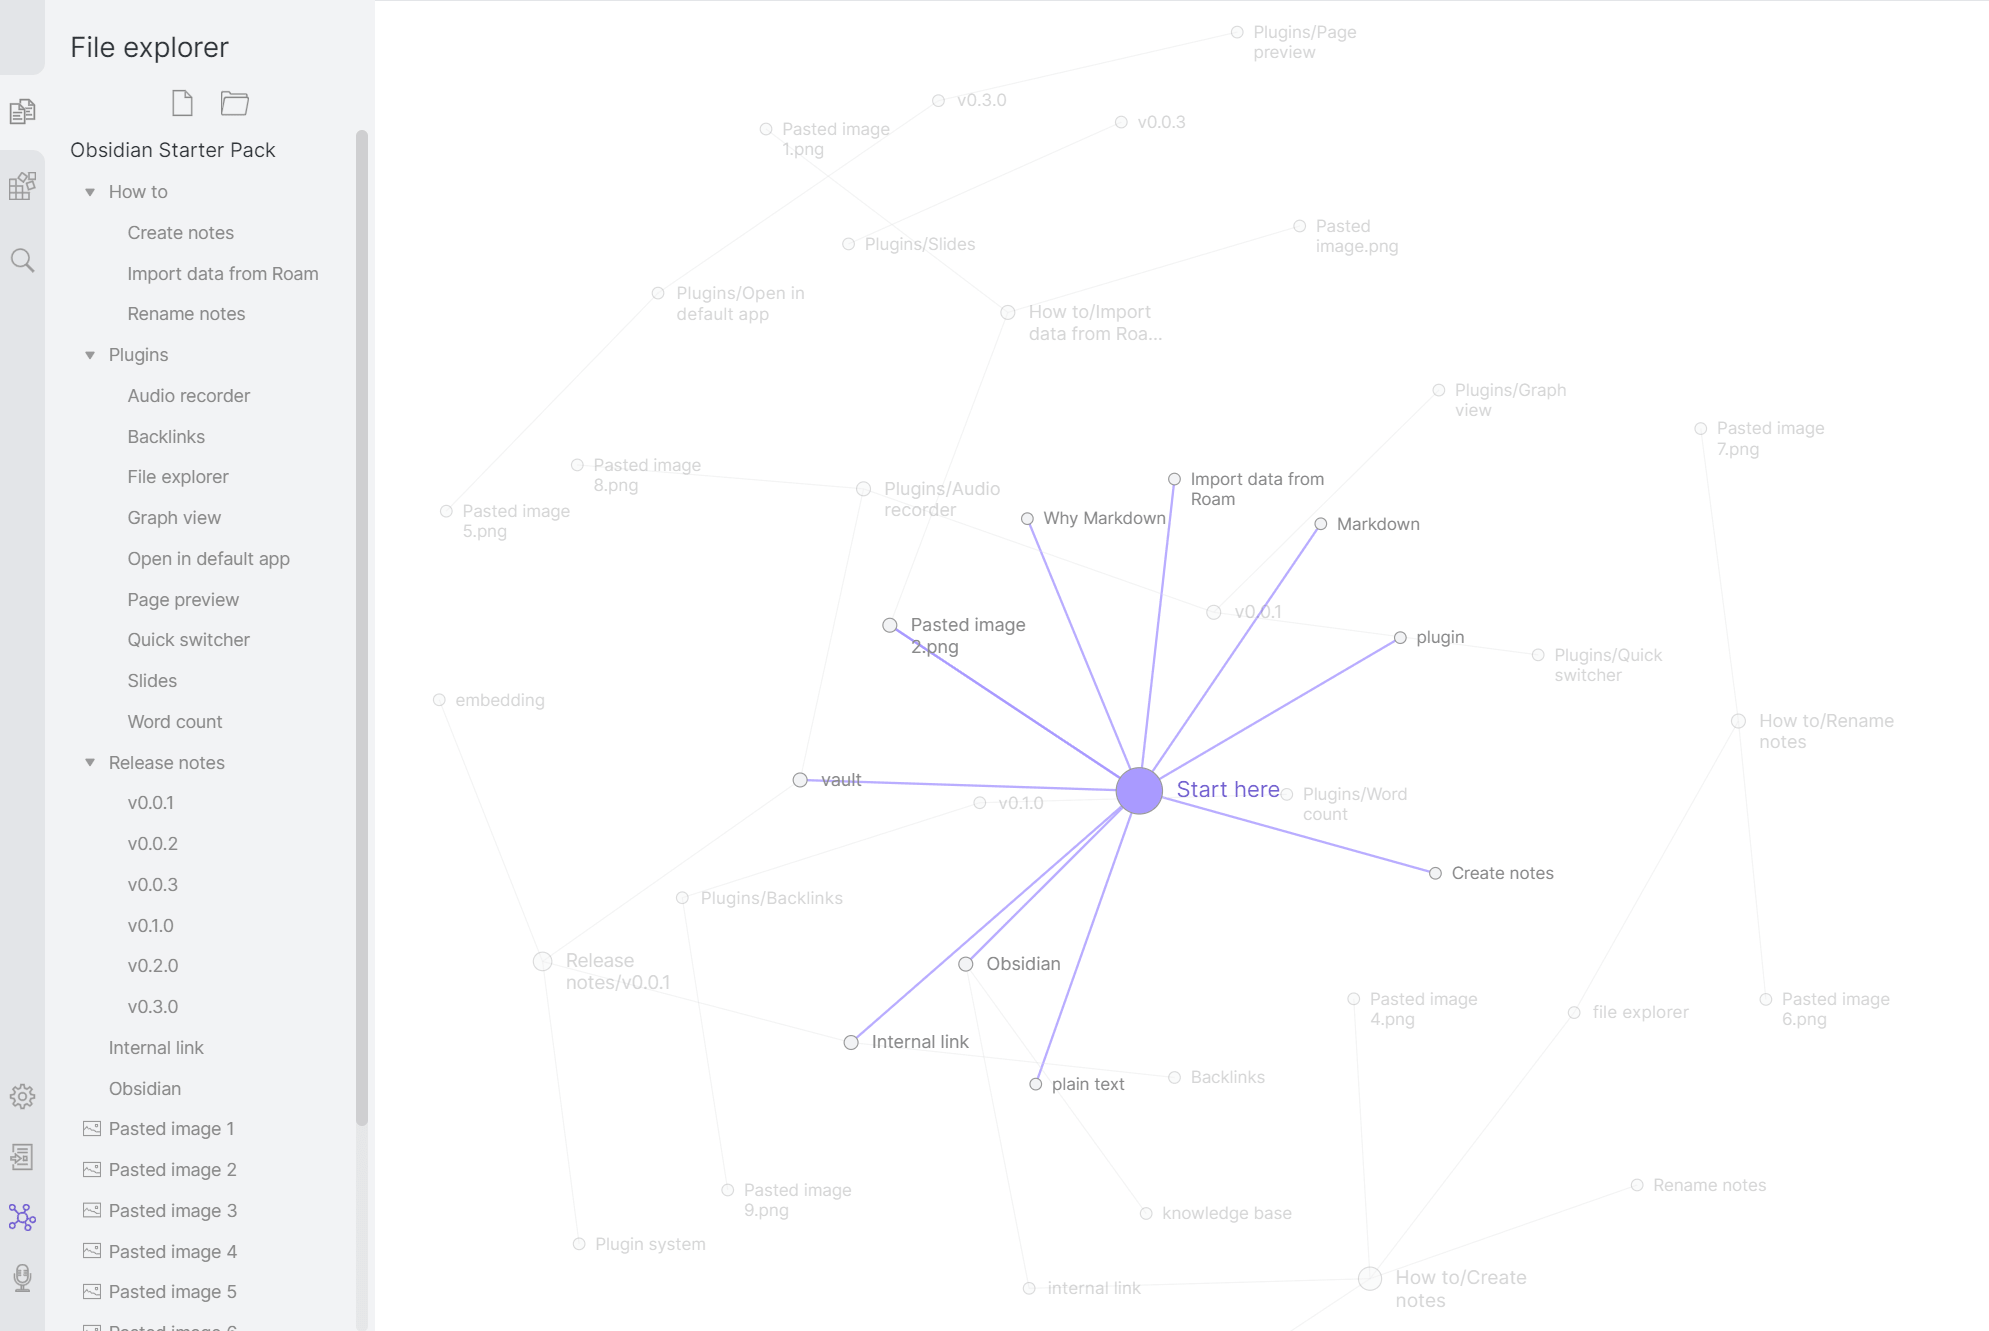
Image from the official Obsidian help documentation.
Step 1: Install Obsidian and Create a Vault
-
Go to obsidian.md to download and install. Personal use is free.
-
After opening it, choose Create new vault, give it a name such as "My Knowledge Base," and pick a folder to store it in.
-
Add a few real pieces of content first: recent meeting notes, a book-reading note, a background description of a project. Even five or six notes are enough for the AI to start being useful.
-
Try linking: in one note, type
[[, select another note, and the two are now connected.
A few Obsidian terms: vault is that folder; double link is the [[...]] style of link; backlinks are "which notes link to me."
Step 2: Enable the Command Line Tool
This step lets the AI "operate" Obsidian.
-
Check the version: Obsidian needs to be version 1.12.7 or later. If you have an older version, download and reinstall from the official website.
-
Open Settings → General, and turn on Command line interface.
-
Follow the prompts to complete registration (on Mac it will ask for your computer password).
-
Restart the terminal and enter:
obsidian version
If you see a version number, it worked. Try one search to confirm it can find your notes:
obsidian search query="meeting"
Note: Obsidian must be open when using the command line; if it isn't, the first command will open it automatically.
Step 3: Install the Obsidian Skill for the AI
Using Claude Code as the example (Codex and other Agents work similarly).
-
If you haven't installed Claude Code yet, see the Claude handbook first.
-
Open this site's Obsidian knowledge base Skill, click the Copy button on the page, and paste the copied text to Claude Code; it will install the Skill itself.
This Skill defines how the AI uses your knowledge base: search before answering, cite note names when referencing, check for duplicates before saving, only append and never overwrite, and always ask you before deleting or renaming.
Step 4: Start Using It
The following sentences can be copied directly to the AI; change the content in square brackets to fit your situation:
Sign in to unlock this key section
New accounts get 10 free credits, plus 1 more for each daily check-in. Spend 1 credit to unlock and it stays open for you.
After using it for a week or two, you'll find the AI increasingly "understands you": not because it got smarter, but because your knowledge base has grown richer.
Notes
-
Back up first: The knowledge base is just a folder. Before letting the AI write to it, make a copy, or put it under Git.
-
Deletions go to the trash by default: If you delete something by mistake, you can recover it from Obsidian's trash; the Skill also prohibits the AI from permanently deleting without your consent.
-
Keep private content separate: Content like passwords and personal diaries is best kept in a separate vault that the AI cannot access.
-
Review notes the AI writes: However well it organizes things, it may misunderstand, so read important conclusions yourself.
References
-
Obsidian handbook: Basic Obsidian concepts and common commands
-
Knowledge base handbook: What a knowledge base is
-
kepano/obsidian-skills: A formatting-focused Skill maintained by Obsidian CEO kepano
Comments (0)
No comments yet. Start the conversation.