


Vertical short videos have a format that works very well: the characters are flat 2D cartoons, but the scenes are lit 3D, telling you a real historical or scientific story. This "2.5D" style looks like a small film crew made it, but one person with an Agent, Blender and a few open-source Skills can build a pipeline for it.
This tutorial walks you through one episode from start to finish: topic, script, storyboard, building the scene, placing the characters, voiceover, captions, sound, and the final review loop. Each step gives you prompts you can copy and adapt directly.
To be clear: we don't know the real workflow behind any specific channel. What follows is one way to build this same format with open-source tools.
What you'll be able to do
- Break down the form of a reference video (dimensions, shot rhythm, caption style) instead of copying its content.
- Use an Agent to build a lit scene in Blender in three passes.
- Place 2D characters into a 3D scene and make them "stand" convincingly.
- Make captions from your own voice with word-level timestamps, then check the audio with a sound review tool.
- Iterate by reviewing a contact sheet of screenshots, not by rewatching the full video over and over.
- Package the whole process as your own Skill, so the next episode needs only one sentence.
Preparation
- Claude Code or another Agent that supports Skills and MCP.
- Blender (follow each project's instructions; don't use a very old version, and read the README before installing).
- Python, Node.js, uv and ffmpeg.
- A microphone that can record.
- A mindset check: this is an advanced tutorial, and the first episode will take a while.
Before installing any third-party Skill or MCP, open the repository and read through it. They run code on your computer.
Part 1: What this format looks like
Before you start, work out what the reference video actually does right. A common combination is:
| Item | Common approach |
|---|---|
| Frame | Vertical 1080×1920, 30 fps, about 55 to 70 seconds |
| Content | One true story, told in one person's voice |
| Characters | Flat 2D: round heads, dot eyes, thick outlines |
| Scenes | Full 3D: light, materials, depth of field |
| Shots | A cut roughly every 2 seconds; camera moves are slow pushes or dolly moves |
| Captions | One to two words at a time, bold white text, centered slightly below middle |
| Opening | A question hook, such as "Why..." |
It is hard to dismiss as "AI slop" for several reasons: the characters are deliberately simple, so there is no uncanny valley; the scenes are deliberately rich, so the contrast becomes the signature; every shot corresponds to a new idea in the script rather than changing on a timer; it uses a real human voice; and it tells a true story that can be verified.
Break down the reference video with an Agent
First, extract thumbnails from the reference video:
mkdir -p frames
ffmpeg -i reference.mp4 -vf "fps=2,scale=540:-2" frames/ref-%04d.jpg
Then give the Agent this prompt:
Analyze reference.mp4 as a "form", not as content to copy.
First use ffprobe to report the dimensions, frame rate and duration, then look at the images in frames/ one by one.

Output REFERENCE.md, including:
- The time and frame number of every cut
- Which parts of each shot are 2D and which are 3D
- The camera move and direction of each shot
- Caption style: how many words per card, where they sit, when they change
- The hook sentence, and where the twist appears

Label every value with its source: measured (read from the frame), estimated (judged by eye), or decided (a creative choice for this version).
For anything uncertain, point out which frames I should check.
Do not copy the characters, design, script or story structure.
Finally, give me 5 creative decisions for this episode.
Keep the labels. The spatial relationships the Agent estimates from images are only approximate, so any data you will build from must be checked against the frames themselves.
Part 2: Set up the studio
Install only what this episode needs:
# Let the Agent control Blender (install uv first)
uvx mcp-for-blender setup
# Manual method: claude mcp add blender uvx mcp-for-blender
# Install the Blender add-on: uvx mcp-for-blender install-addon

# Motion timing and easing, including Disney animation principles
npx skills add LottieFiles/motion-design-skill

# Compositing frames, captions and sound
npx skills add remotion-dev/skills

# Word-level timestamps for captions
pip install -U openai-whisper
The mcp-for-blender README also explains how to connect asset libraries. Poly Haven assets are CC0, so you do not need to give credit when using them in monetized videos.
Write the house rules into CLAUDE.md
The Agent reads CLAUDE.md every time it starts. If you write the form into it, every episode starts from the same rules:
Sign in to unlock this key section
New accounts get 10 free credits, plus 1 more for each daily check-in. Spend 1 credit to unlock and it stays open for you.
Part 3: Get the story right first
The script is only about 160 characters
A roughly 65-second short, at normal speaking pace, is about 150 to 170 words. That is the whole budget. Ask the Agent to find topics, but they must come with sources:
Find 5 true historical or scientific stories that suit titles like "The thing about..." or "Why ... always ...".

For each story give: a one-sentence summary, why both a twelve-year-old and a fifty-year-old would want to retell it,
and two source links I can open.

Once I pick one, write the script:
- 150 to 170 words, one narrator, conversational, short sentences
- The first sentence is the hook, and it makes a promise
- A twist at around the 40-second mark
- The last sentence pays off the hook
- Also write sources.md, with a source for every fact
You need to open and read the sources yourself. This is the one step in the whole process that you cannot fully hand off.
Break the script into shots
The shot list is the contract for all the work that follows:
Break script.md into a shot list. One idea per shot, each 1.5 to 3 seconds.

For each shot write: number, the lines it covers, duration,
scene (which 3D scene and which position in it), camera (framing and movement, with reason),
characters (who is in frame, pose, and which one from the expression sheet),
props (key props must be built in 3D, not drawn),
sound (only write it where a physical action happens).

Reuse scenes: a 65-second film should use only 3 to 5 scenes, not 30.
Then write the key beats as frame numbers, not seconds. Below is an example we made up (30 fps); the numbers are only a starting point:
Global frame   Time     Event
600      20.0s   Shot 9 begins: wide shot, night, the palace is quiet
615      20.5s   Slow push begins, zoom 1.00 → 1.05, lasting 45 frames
630      21.0s   The oil lamp is knocked over
636      21.2s   The lamp lands on the floor (the impact sound goes on this frame)
640      21.3s   Cut to shot 10: the protagonist opens their eyes
Physics keeps you honest: an object falling about 30 centimeters takes roughly a quarter of a second, which at 30 fps is 7 to 8 frames. If it is too slow it looks floaty, and viewers can't say why but can feel it.
Once you use frame numbers, every revision is a single number: "move the impact 2 frames earlier", and the Agent will not misunderstand.
Part 4: Build the scene in Blender
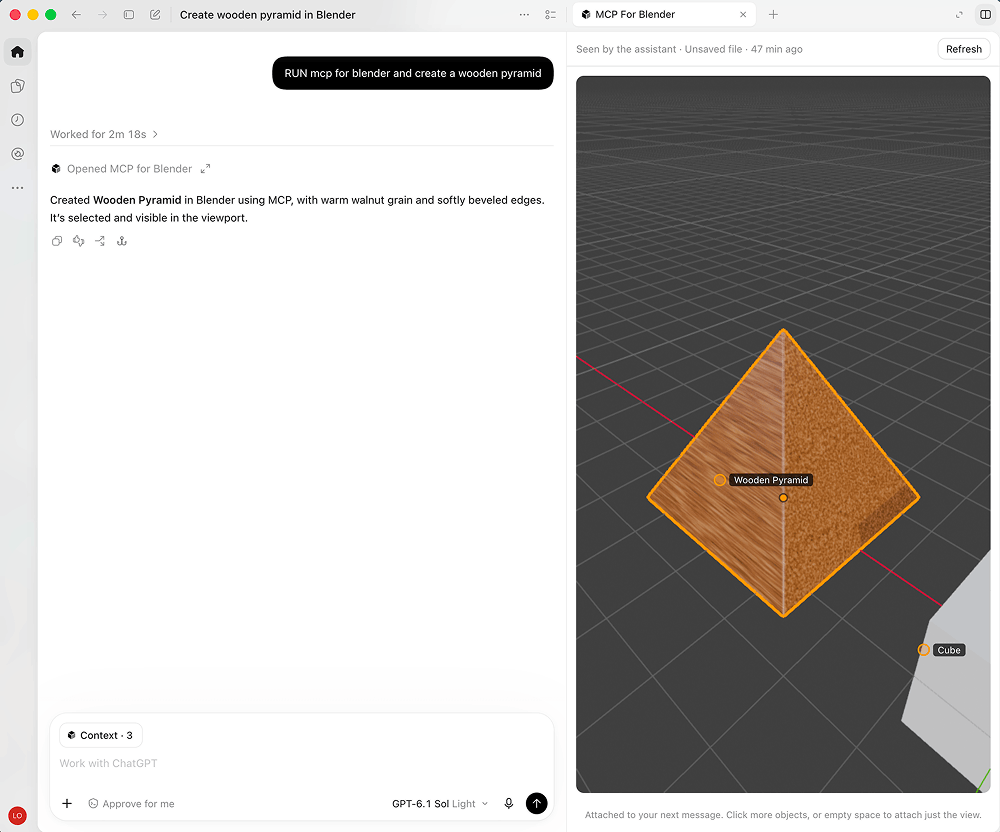
Image from the mcp-for-blender repository.
mcp-for-blender starts a small service inside Blender so the Agent can write Blender Python directly, and it can use asset libraries such as Poly Haven. The key is to have the Agent check its own work, rather than guess with its eyes closed. Which tools are available depends on its README.
Build the scene in three passes, pausing after each
You are building "Scene 2: the Great Hall" for a vertical 2.5D short, through Blender MCP.

Pass 1, blocking: use grey geometry to block out the walls, throne, pillars and floor.
Place every camera according to shotlist.md, render one image from each camera, and combine them into one image for me to see.

Pass 2, lighting: one main light with a known source (a window), plus warm practical light (candles, torches),
and a Poly Haven HDRI for fill. Do not use three-point lighting. Output one still from each of the 3 cameras.

Pass 3, dressing: add materials with wear and variation, banners, rugs and small props.
Enable depth of field on every camera, focused on the spot where the character will stand.

Render at 1080×1920. Do not render larger and then crop.
The main prop is always 3D
The object the story is really about should not be drawn flat. Treat it as a separate task: produce a multi-angle check image first, then place it in the scene:
Build the main prop for this episode: [object, with a reference image or description].
Use real scale, bevel all edges, and give the seams worn materials.
First render a 6-angle check image on a neutral ground for me to see,
and once it's right, place it at the marker point in Scene 2.
Part 5: Put the 2D characters into 3D
The core of 2.5D is this: the characters are flat images standing inside a 3D scene.
- In Blender, import them as an "image as plane", with the material set to emissive or shadowless, so the scene's lights don't cast shadows on the character.
- Add a soft contact shadow at the feet, so the character looks like it is standing on the ground rather than floating.
- For the face, use replacement animation: one set of eyes and mouths, swapped on each beat.
First have the Agent draw the character's parts in SVG:
Draw a cartoon character as a set of SVG parts, with a transparent background:
head (a circle), body, arms, legs, and a hat or costume that fits [character's role and era].

Also make an expression sheet, each expression as its own file:
Eyes: normal, wide, squinting, closed, sideways glance
Mouth: closed, slightly open, wide open, pursed, grinning
Extras: sweat drop, blush

Style rules: solid colors, one consistent thick outline, no gradients or textures.
Export PNGs at double size, then import all the parts into Blender as planes and bind them to the same skeleton.
Give them performance, not bouncing
The easiest place to spot the "generated" feel is that the character never thinks. It only bounces, waves and smiles, but nothing happens on its face before the action. Before you start, write one line of "performance notes" for each shot:
Shot 7 (2.1 seconds) "The whole court laughed"
Thought: the protagonist knows they are right
Anticipation: before anything else moves, narrow the eyes, 4 frames early
Action: turn the head to look at the camera on the word "laugh"
Hold: hold the look for 10 frames so the audience can read it

Rule: no idle bouncing. Every action starts with a glance. Only change the mouth shape on stressed words.
Part 6: Sound and captions
Use your own voice, and make word-level captions
Read the script yourself. Real human breath and rhythm are the biggest trust signal in this format, and they also mean you don't have to think about voice cloning.
Then have Whisper time each word, and use that file for the caption layer:
whisper voice.wav --model small --word_timestamps True --output_format json --output_dir captions/
Read captions/voice.json and build the caption layer in Remotion:
- Only 1 to 2 words on screen at a time, switching exactly at each word's start time
- Bold white text with a dark outline, centered slightly below middle, inside the vertical safe area
- Not every word gets a pop-in animation; add it only to stressed words
Then match every cut in shotlist.md to the word it belongs to.
Land the sound on the beat
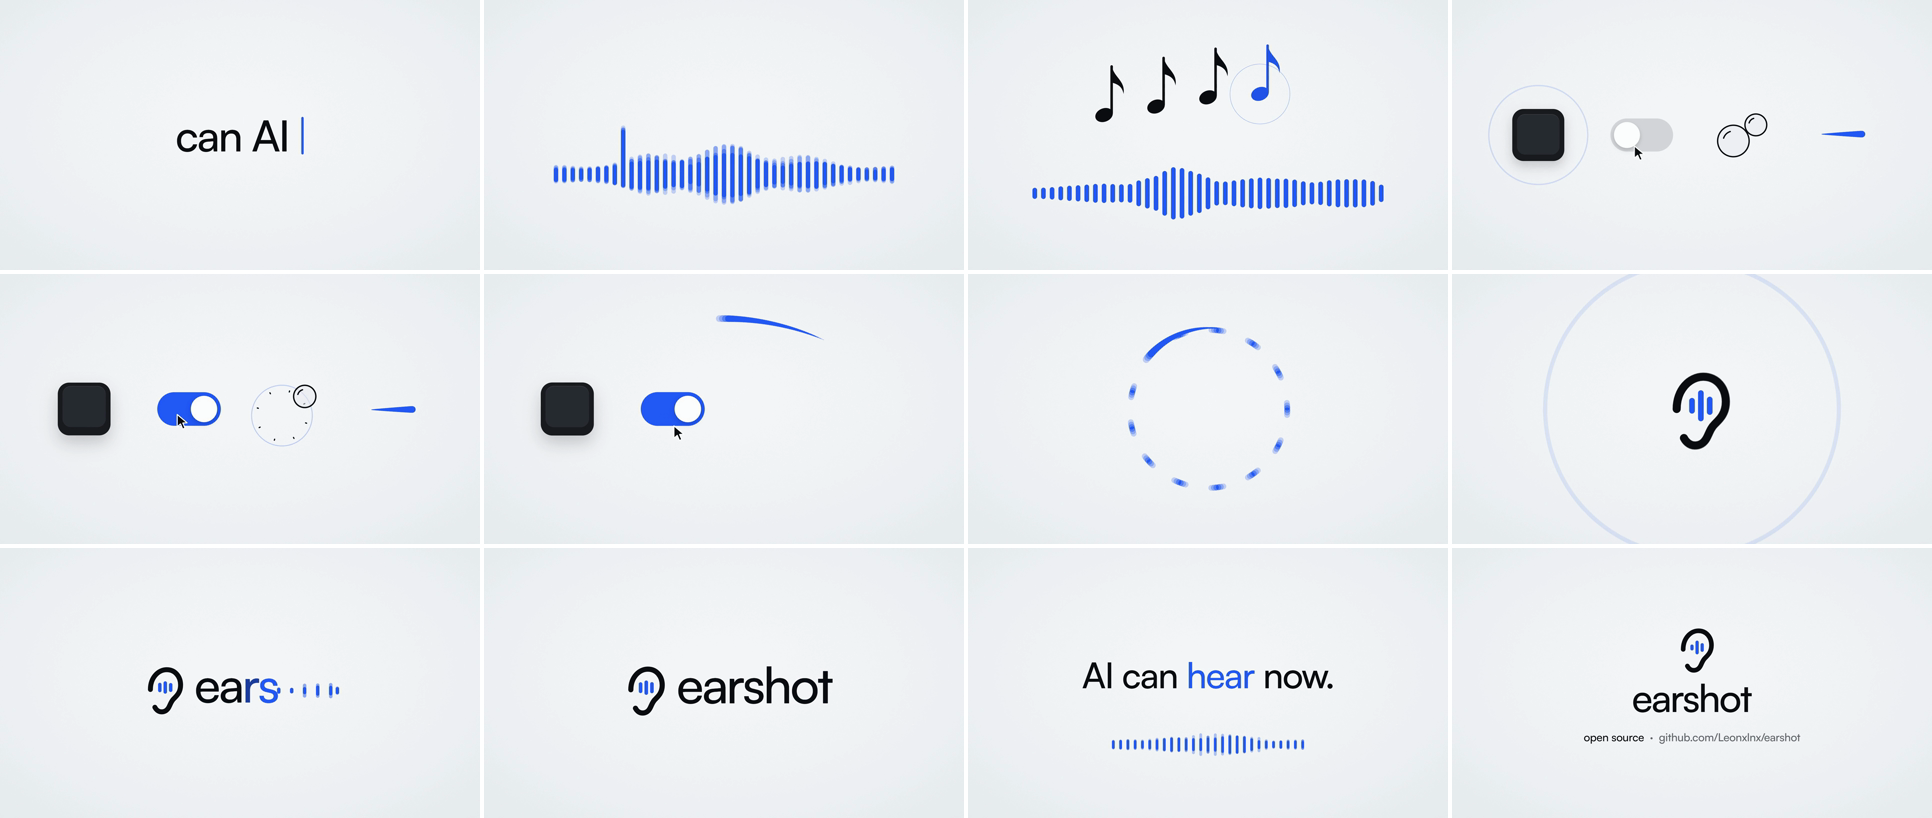
Image from the earshot repository, showing the storyboard frames of its launch short.
Many AI shorts look fine with the sound off but fall apart with it on: cuts don't land on the beat, and the music is still ringing when the last frame drops.
earshot is an open-source MCP that lets an Agent "listen" to audio and review it, and can also generate sound, using only CPU. You can treat it as the ears for your review:
Use earshot to listen to out/mix.wav and check it against shotlist.md:
- Voice is always on top, with music underneath
- Sound effects only where a physical action happens
- The same whoosh appears no more than twice
- The music resolves on the last frame
Then write the sound cues and the picture events on the same frame numbers:
Lamp lands     frame 636   light metallic impact
Eyes open      frame 640   music pauses for 20 frames
Last line      frame 1900  music resolves
A small warning: if a sound effect file has any intro at the start, the "impact" you hear will come later than the start of the file. Find the peak on the waveform, then offset the clip so the peak lands on the target frame.
Part 7: The review loop
Don't watch the full finished video ten times. Review the contact sheet:
# One frame per second, the whole episode tiled into one image
ffmpeg -i out/episode.mp4 -vf "fps=1,scale=240:-1,tile=8x9" -frames:v 1 review/contact.png

# Phone test: shrink to 360 px wide, one frame every 3 seconds
ffmpeg -i out/episode.mp4 -vf "fps=1/3,scale=360:-1,tile=6x4" -frames:v 1 review/phone.png
Fix one spot and don't re-render the whole episode. Blender can render a single frame or a range from the command line:
# Render one frame only
blender -b episode.blend -o //review/still_ -f 636

# Render only the range around the fix
blender -b episode.blend -o //review/fix_ -s 600 -e 660 -a
Then hand the contact sheet to the agent and have it act as the judge, not the author:
Open review/contact.png and review/phone.png.
You did not make this episode. You are the most demanding animation director I know.

Check: Does every character have a contact shadow under their feet? Is any character
looking like a 3D object that got hit? Is there any shot that goes past 3 seconds
without a new idea? Can the subtitles be read at phone size?
Is there any conclusion on screen that is not in sources.md?

List all problems with timestamps, fix the 3 most serious ones, re-render only those
seconds, then give me a new contact sheet.
Write four fields for every change: where, what is wrong, what it should become, and what must not move. With a bounded change, the agent won't wander off:
Change shot 9, based on shotlist.md.
Location: global frames 630 to 640
Problem: the lamp lands on frame 644, 8 frames after the collision sound
Change: only change the lamp's fall, starting at 630, landing on 636, accelerating down, no bounce
Keep: the slow push-in of the camera, the cut on frame 640, subtitle timing, and all other shots unchanged

Output still frames at 630, 633, 636, and 640, plus a preview of 600 to 660. Check the
in-between frames for jumps, then report what changed and the output files.
Order of fixes: first fix what is wrong or missing, then readability, then pacing, and only last the fine visual details.
After it passes, check the export before uploading:
ffprobe -v error -select_streams v:0 -show_entries stream=width,height,avg_frame_rate,duration -of json out/episode.mp4
You should see 1080×1920, a frame rate of 30/1, and the duration you planned.
Part 8: Package It as Your Own Skill
Once the process works, save it as a Skill so the next episode takes just one sentence:
---
name: cartoon-studio
description: Make vertical 2.5D animated shorts (flat 2D characters placed in a Blender-lit 3D scene) that tell a true story. Use when the user wants a history or science short, an animated explainer, or a story-based short.
---

# 2.5D Shorts

## Process
1. Give 5 true stories with sources, and wait for me to choose.
2. Write script.md (150 to 170 characters) and sources.md, and wait for my confirmation.
3. Write shotlist.md: one idea per shot, reuse 3 to 5 scenes.
4. Build the scene in Blender in three passes: blocking, lighting, decoration, with a check render after each.
5. Props that matter to the protagonist are made in 3D; characters are made from SVG parts flattened into planes, with solid-color materials, plus contact shadows.
6. For each shot, write the performance notes first, then animate.
7. My voice → word-level timestamps → subtitles → mix, checked with earshot.
8. Contact sheet plus phone test → judge review → fix the 3 most serious → repeat.

## Hard Rules
- 1080×1920, rendered at that size. Use only real facts, and every one must have a source in sources.md.
- Do not copy another channel's characters, designs or scripts.
Save it to ~/.claude/skills/cartoon-studio/SKILL.md, then say "use cartoon-studio to make an episode" whenever you need one.
Part 9: How to Make the First Episode
- Make only one episode. Don't plan the channel first. Decide after you finish.
- Pick a story you already want to tell a friend. If it can't make you say "No way, really?", it won't make a stranger stop scrolling.
- Time the whole process. Record how long the story, scenes, characters, animation, voiceover, sound and review each took. The second episode will show you the real cost of the first.
- Keep the documents and the video together. script.md, sources.md, shotlist.md, the sound cue sheet and the final export all go in the same folder. That folder becomes the template for episode two.
- Watch it like a viewer. Normal speed, on a phone, with sound on. Then close your eyes and listen once more.
- Look at the retention curve, not the view count. After publishing, check the platform's viewer retention graph. It shows exactly which second people leave at.
Compliance and Platforms
This part determines whether the channel can last.
- Learn the grammar, don't copy the content. Study how a channel frames, cuts and captions, but never copy its characters, designs or scripts.
- Make every episode original. Platform monetization policies target mass-produced repetitive content. Each episode should use a real story, your own voice and new scenes so it doesn't fall into that category. Follow the platform's latest official policy for the details.
- Watch for AI disclosure. Platforms require disclosure for content that could be mistaken for real. Clearly non-realistic animation usually doesn't fall under this, but if anything could be mistaken for real footage, label it. Again, follow the official rules.
- Facts must be facts. sources.md is not a formality. A wrong date in the comments does more damage to trust than any render.
Repository Checklist
- mcp-for-blender: lets an agent control Blender.
- blender-claymation-skill: a Skill for Blender clay animation, good for studying how a Blender skill is written.
- motion-design-skill: motion design principles.
- gsap-skills: official GSAP skills.
- remotion skills: composing video with Remotion.
- hyperframes: a framework for making video with HTML.
- earshot: a sound tool for agents.
- whisper: word-level timestamps.
Comments (0)
No comments yet. Start the conversation.