


Often the most frustrating part of making a game is the 3D models: without an artist, buying assets is expensive and they rarely fit. This tutorial lays out a nearly free pipeline: props, buildings and vehicles are generated with code in Blender; characters and creatures get their initial mesh from an image-to-3D generator; and the cleanup, rigging, weights, animation and export all happen in free Blender, with the Agent writing the scripts.
The prices and hardware figures in this article come from the tutorial material's author notes. Generator prices and policies change often, so check the official pages before you use them.
What you will be able to do
- Choose the right route for each type of object: code generation, local GPU generation, or a paid API.
- Have the Agent generate props in Blender that don't float and have low polygon counts, using measurable reference images.
- Take the "single lump of shell" a generator outputs, split it apart, attach bones, and keep clothing from being stretched along with the arms.
- Write animation clips in code and check them with numbers, not just by eye.
- Export files that Unity or Roblox can use directly, and avoid common import pitfalls.
Preparation
- Install free Blender and Claude Code.
- Run all prompts in the Claude Code terminal, in the same project folder. It writes Python, runs Blender headless, and opens the renders it produces.
- Tell the Agent where your Blender is. On a Mac the path is usually
/Applications/Blender.app/Contents/MacOS/Blender. Put the path, along with this line, intoCLAUDE.md:
How to run Blender: blender -b file.blend --python script.py
- Save every step as a
.pyfile so you can rerun it after making changes.
Terms you will run into
| Term | Meaning |
|---|---|
| Mesh | A 3D shape made of triangles; GLB and FBX are file formats that store it |
| Orthographic view | A flat front-on view with no perspective, like a blueprint |
| UV and texture | An image wrapped around a mesh; a normal map is used to "fake" small detail |
| Decimate | Reduce the number of triangles |
| Armature, rig | The skeleton of bones; weights determine how much each bone moves each vertex |
| Rest pose | The pose the skeleton is built in; the A-pose has the arms angled down about 45 degrees |
| IK | A hand or foot is held fixed while the arm or leg bends to reach it |
Part 1: Choose your route first
The principle is simple: if you can measure it with a ruler, use code; if it has to be sculpted, use a generator.
Routes that don't charge per use (you still need your Claude subscription)
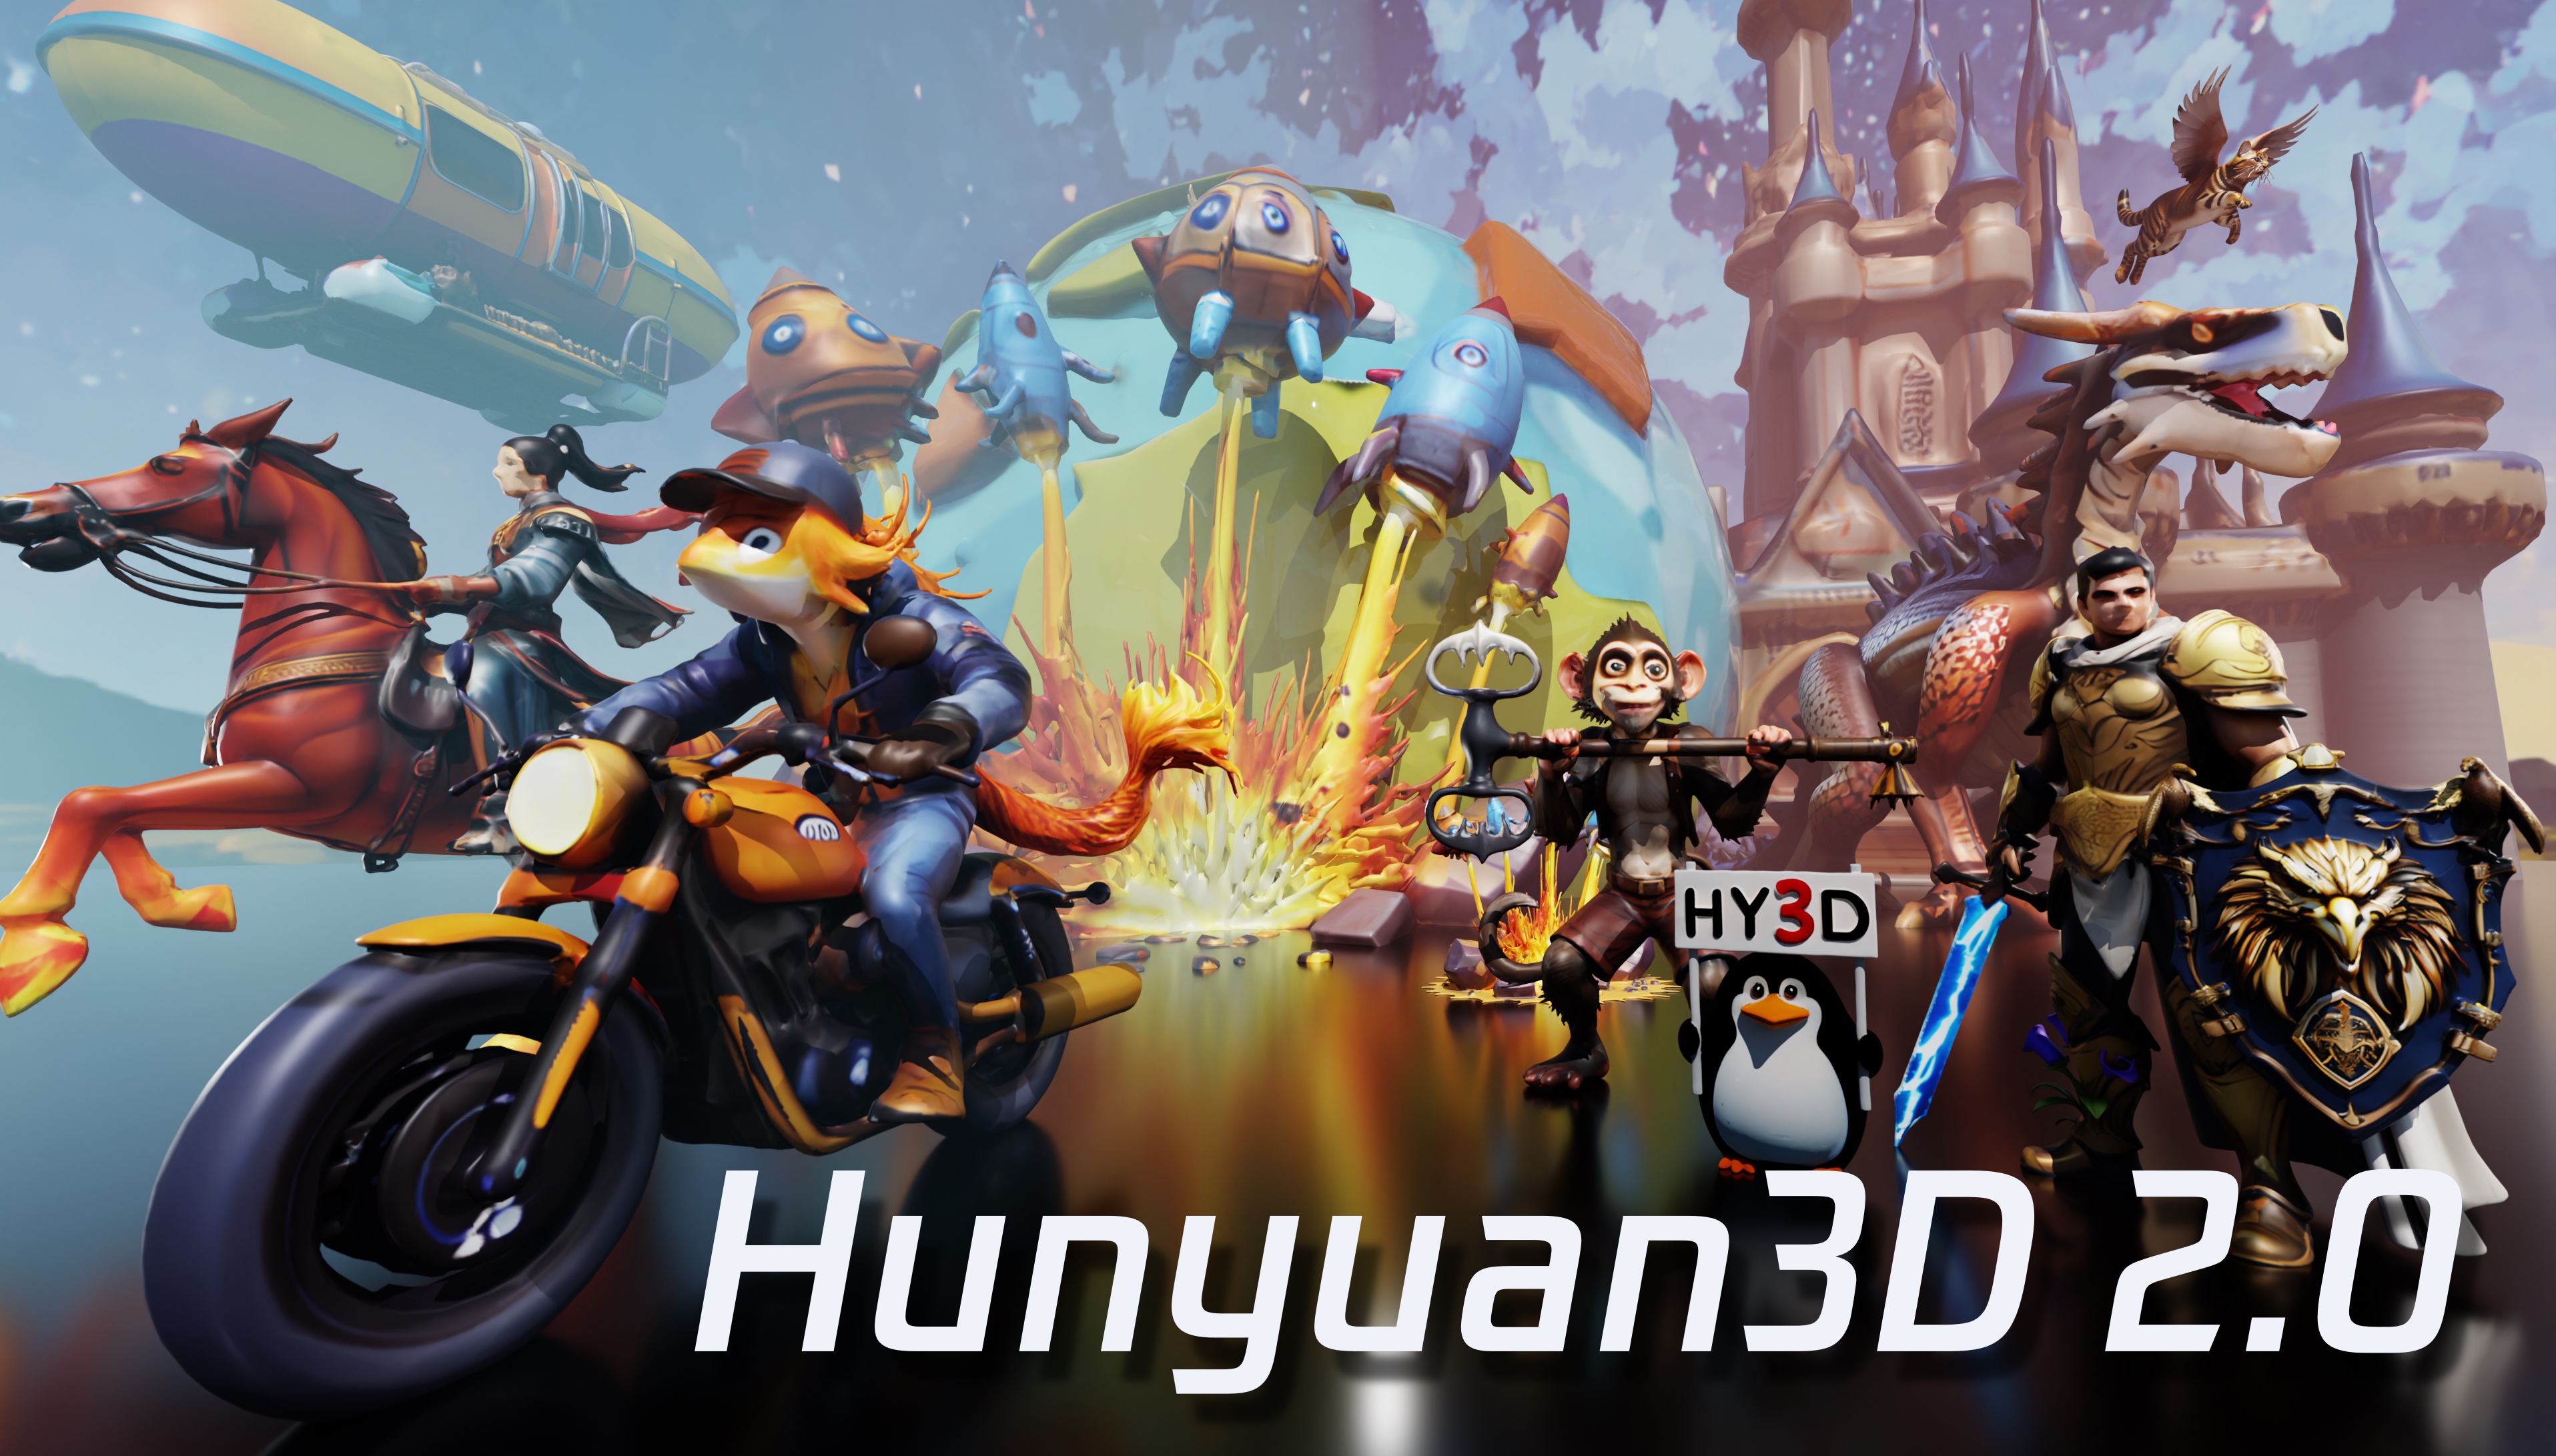
Image from the official Hunyuan3D-2 repository.
- Python in Blender: guns, crates, houses, whole blocks, vehicles, furniture. Dimensions are precise, polygon counts are low, and parts can be changed by number. The Agent is not good at copying organic shapes from images; building a character with code only gets you a toy robot.
- Local GPU: Hunyuan3D 2.0 can generate shape and texture from concept art, taking a few minutes per model. The official VRAM requirement is 16 GB for shape plus texture combined. Some people have run a community packaged version on an 8 GB laptop GPU, where faces come out blurrier, hands merge with whatever they hold, and the polygon ceiling is around 40,000. Its license does not apply in the EU, the UK or South Korea, so read the license before use.
Lowest-cost paid route
- Tripo API: 1 credit is about 0.01 USD. According to the material, generating one model from multiple views costs about 20 to 30 credits for pure geometry, plus 10 to 30 credits for texturing, so about 60 credits in total with fine textures, or 0.6 USD. Failed and cancelled tasks are not charged.
- Only pay for "generation". Tripo also sells retopology (10 to 40 credits) and automatic rigging (25 credits), but both steps can be done for free in Blender.
Part 2: Low-poly props with pure code
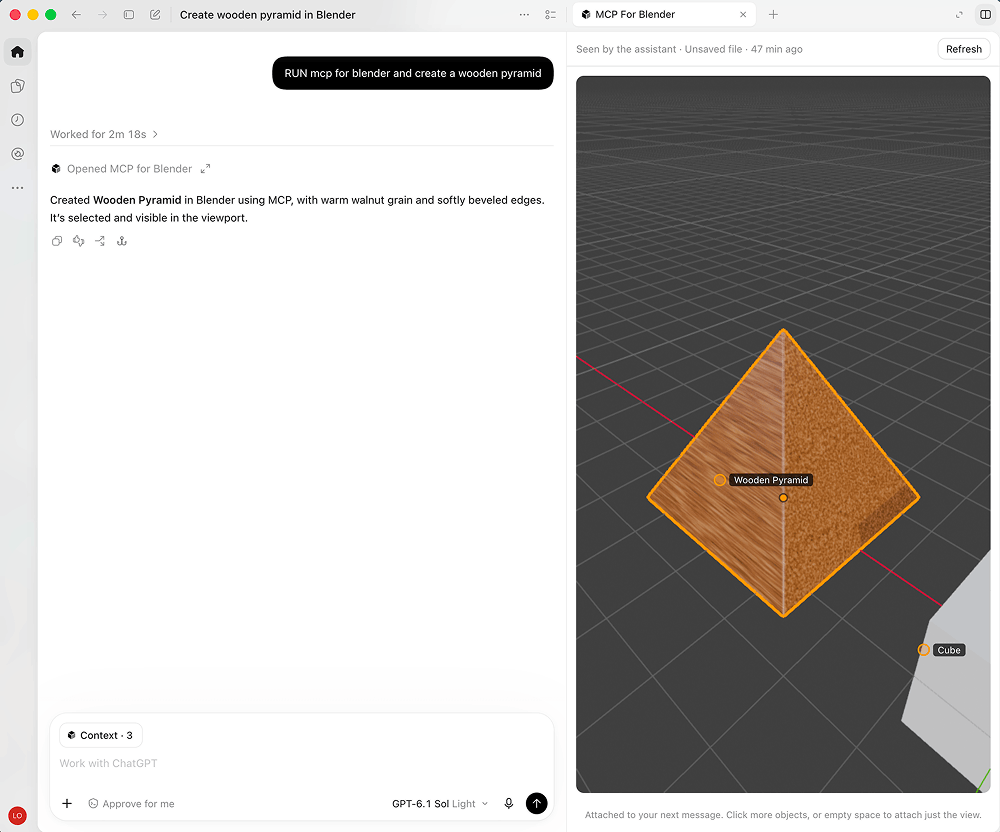
Image from the mcp-for-blender repository, demonstrating the Agent operating Blender directly.
First, make a reference image you can measure
A common problem: AI-drawn reference images have perspective and shadows, and the views contradict each other (in the side view the stand is retracted, but in the 3D view it's open). The Agent can look at images but can't measure them, so it guesses coordinates and the parts float in mid-air.
Have the image tool produce a "drawn for measurement" image:
Draw a design sheet for a [prop name], with these requirements:
- Only three orthographic views: front, side and top, no perspective, no shadows, white background
- Part positions must match across views, with the same scale
- Label the ratio of the longest edge in each view
If you only have one composite sheet, first have the Agent cut it into separate views. For any view that is missing, write the dimension yourself (for example, "stock 5 cm wide").
Write the numbers first, then build the geometry
Look at these reference images. Do not model yet.
List a dimension table: the length, width and height of each part, and the relative positions between parts, in meters.
Mark which values were measured from the drawing and which you estimated.
I will confirm before you start.
Check this table yourself: if one number is wrong, it's a one-line fix, but if you only find out after modeling, you have to redo the work.
Put the rules in CLAUDE.md, one part at a time
Put the unchanging rules in CLAUDE.md instead of repeating them in every prompt:
Sign in to unlock this key section
New accounts get 10 free credits, plus 1 more for each daily check-in. Spend 1 credit to unlock and it stays open for you.
Then one prompt per part, and a new session for each part:
Read dimensions.json and CLAUDE.md.
Build only the "barrel" part, saved as parts/barrel.py.
After building, render the front and side views (768 pixels), compare them with the reference images, and point out any deviations.
The reason: if you have the Agent build the whole prop at once, every change re-renders everything, the render images pile up in the context, and the session hits its limit quickly. Simple parts (barrels, boxes, planks) can use a cheaper model; parts with complex silhouettes and seams need a stronger one.
Check the assembly, then export
Assemble all the parts under parts/ into one prop.
Check: are there gaps or interpenetrations between parts, does the overall size match dimensions.json,
what is the total triangle count, and are there any inconsistent normals.
Only if everything is fine, export as GLB.
For buildings and whole streets, don't make them one by one. Have the Agent write a generator script that outputs a batch from a few parameters. Don't hand buildings and street props to an image-to-3D generator: their bases often come out nearly square, a bus or a fence stretched to real length turns flat, and the texture gets messy.
Part 3: Characters with a generator
Draw concept art for the generator
- Don't have the character holding anything. What's in the hands will fuse with them and can't be separated later. Draw props as a separate image.
- Image tools often draw the left view as a mirror of the right view, causing straps or weapons to jump to the other side. Only submit real views.
Put each view into the right slot
Have the Agent split the concept art into view_front.png, view_right.png and view_back.png, one file per view, with consistent heights.
Tripo's multi-view interface accepts up to 4 images, placed as front, left, back and right. Front is required, with at least 2 images. Always put each image in the slot for the side it shows, otherwise a misplaced side view will give the character an extra face on the back of its head.
Before calling the API, apply for an API key, put it in an environment variable, and have the Agent write a small client following the official docs: upload images, start a multi-view task, poll, and download the GLB.
Read the Tripo API docs and write a Python client:
Upload view_front.png, view_right.png and view_back.png, start a multi-view task,
poll until it completes, then download the GLB to out/.
Read the API key only from an environment variable; do not write it into a file or print it.
Two ways to save money: check the views before sending (if a view is wrong, redoing it costs you again); for background characters, skip the texture and flatten it to a solid color after importing into the engine.
Clean the mesh before talking about bones
Budget reference: Roblox caps a single mesh at 20,000 triangles; Unity main characters 40,000 to 70,000; small characters in crowds 3,000. Tripo's GLB defaults to facing +X.
Open out/character.glb and clean it up:
1. Merge duplicate vertices (this must come before setting weights, otherwise vertices at the seams get different weights and the mesh splits when it moves)
2. Turn it to face Blender's -Y forward and apply the transform
3. Delete faces with zero-length normals, and fix black triangles and white discs
4. Scale uniformly to 1.8 meters tall
5. Save a separate "crowd version" with only 3,000 triangles
The crowd version has to be made separately: when hundreds of 40,000-face models appear at once, the frame rate drops badly.
Part 4: Rigging, without stretching the clothes
The generator gives you a single shell fused together: the coat is welded to the legs, the sleeves are welded to the hands. Automatic weights can't tell clothing from body, so when the arm is raised, the coat and chest get pulled up too. The next steps are meant to solve this.
Split into parts
Split the character mesh by body region into multiple parts: head, torso, coat, sleeves, hands, legs, boots, scarf, etc.
Use both position and color to decide, not color alone:
a dark coat piece tagged as a scarf will move with the scarf, and a hole will appear in the back.
Output the vertex count of each part, and render an image colored by part for me to check.
Read the joints from the mesh
Render the character as front and side orthographic images, overlay the mesh,
and mark these joint points on the images: hip, spine, neck, shoulder, elbow, wrist, knee, ankle.
Show me the annotated image first; I will confirm before building the bones.
Name the bones in Mixamo style (Hips, Spine, LeftArm...).
Check these points before building the skeleton: if a shoulder joint is 3 cm too high, the entire sleeve gets stretched. With Mixamo naming, Unity's Humanoid importer maps the bones automatically. Animals follow the same steps, except the joints become spine, tail and four legs, and you import with Generic.
Set weights with rules
Set weights by part:
- Torso and coat bind only to torso-related bones, not arm bones
- Sleeves bind to the upper arm and forearm
- No smoothing across boundaries between parts; smoothing only happens near the shoulder, elbow and knee, and only inside the same part
If automatic weights fail on a generated mesh with holes, first make a voxel-remeshed copy, bind to the copy, then transfer the weights back to the real mesh.
Do not smooth weights between two parts. Smoothing will leak the hand bone into the coat and pull a sharp spike out of it.
In the material's test, these rules reduced the longest stretched edge from 40 times to 16 times when the arm was raised 90 degrees. Note that the rules let clothing follow the arm, but they make head turns and steps worse: the collar weights sit on the chest yet touch the head, and the hip weights run down the thigh. So the next round of testing and per-point fixes cannot be skipped.
Pose tests, measure the tearing
Pose the character in these test poses: both arms raised 90 degrees, head turned 60 degrees to the left, right leg lifted 45 degrees.
In each pose, calculate the stretch ratio of all edges, list the 10 longest edges and their positions,
and render front and side views.
Output a report telling me where it is tearing.
Keep shoulder rotation close to the rest pose: the generated mesh has no extra geometry in the armpit, so if the upper arm turns too far it will split.
Part 5: Animation clips and engines
Write animation on the same rest pose
On this skeleton, write an 8-frame looping walk animation at 30 frames per second.
Frames where the foot lands must be smooth, with no foot sliding. Write it as a Python script clips/walk.py, with adjustable parameters.
Combat moves use the same approach. Animation must be written on the skeleton it will play on. Animation copied from a skeleton with a different rest pose will break the legs.
Check every clip with numbers
Check the walk clip:
- Are the first and last frames of the loop identical
- Is the foot height 0 on contact frames
- Does the maximum joint rotation speed stay within a reasonable range
- Are there any bone flips (sudden Euler angle jumps)
Output a table.
Poses that look wrong still need you to take a look yourself.
Export
For rigged meshes, do not check "Apply Transform": Blender's own documentation flags this option as causing problems with armatures; the cleanup stage has already applied the transforms.
Unity:
- For characters with two hands, two legs and one head, use Humanoid; for animals, use Generic, and name the root bone yourself.
- Check Loop Time in the import settings; FBX does not carry this property.
Roblox:
- Choose "File → Import 3D" and set the rig type to Custom.
- If there are helper bones (such as a weapon socket), keep "Zero Influence Bones" enabled; it is off by default.
- Bone scale must be 1 and rotation 0, the root bone at the origin, no skin weights on the root bone, and at most 4 bones per vertex.
- A 1024-pixel texture is the most stable; use the OpenGL format for normal maps.
- Put a small probe cube in the file and measure it after import: the importer may change the scale of the whole file.
When something goes wrong, how to check
| Symptom | Likely cause |
|---|---|
| Prop parts float | The reference image has perspective; go back to "energy reference image" |
| One prop uses up the session quota | One part at a time, render at 768 px |
| An extra face appears on the back of the head | A view was placed in the wrong slot |
| An extra tail or limb appears | The generator only saw the front; add the back view |
| The prop merges into the hand | The concept image has something in the hand |
| Clothing stretches with the arm | Torso and coat are bound to the arm bone |
| Spikes appear on the coat | Weights were smoothed across different parts |
| Head or hips tear when turning or stepping | Rigid parts hit another bone's weights at the seams |
| Knees bend wrong in the animation | The animation came from a different rest pose |
| Boots face backward | Rotated the foot 180 degrees around the calf before rigging |
| White discs or black triangles appear | Faces with zero-length normals |
| Thin wires, text, and logos disappear | Generators drop these; build these parts with code |
Comments (0)
No comments yet. Start the conversation.