


The code for this course is in Jupyter Notebooks. To follow along, you need four things: your own copy of the repo, a Python environment, Azure sign-in, and a project with a deployed model.
Keep These Points in Mind
- Fork or clone the course repo first, and experiment on your own copy so you can't break anything that matters.
- You need Python 3.12 or later. It's best to install dependencies in a virtual environment.
- The course code connects to Microsoft Foundry by default, so you need an Azure account and a project with a deployed model.
- Sign in with
az login. Most of the course notebooks use it for authentication, so you don't have to enter keys by hand.
More Detail
Getting the repo. Click Fork to create your own copy of the repo, then clone it locally. The repo is large, so if you only want to look at a few lessons, you can use a shallow clone or a sparse clone to pull down only the folders you need. If you'd rather not install anything on your machine, use GitHub Codespaces.
Setting up the environment. Install Python 3.12, create a virtual environment, then run pip install -r requirements.txt. If you're using the .NET samples, you also need .NET 10 or later.
Where the model comes from. Go to the Foundry website, create a new project, and deploy a chat model in it (the course examples use gpt-5-mini). Then note two things: the project's Endpoint and the model's deployment name.
Authentication. Install the Azure CLI and run az login. The notebooks use your current sign-in identity to connect to the project, so you don't need to put keys in the code.
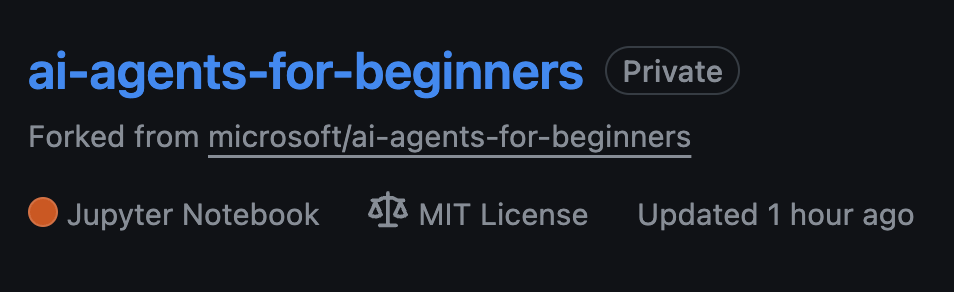
Image from the course repo.
Try It
Work through the steps above in order: fork the repo, create a virtual environment, install dependencies, run az login, then open the Lesson 1 notebook and see whether it produces your first response.
Let an Agent Guide You
Give the following to your agent (Claude Code, ChatGPT, and Gemini all work), and it will walk you through step by step like a mentor.
Sign in to unlock this key section
New accounts get 10 free credits, plus 1 more for each daily check-in. Spend 1 credit to unlock and it stays open for you.
References
- Content adapted from Lesson 0 (
00-course-setup) of microsoft/ai-agents-for-beginners, original project under the MIT License. - For the original and full code: 00-course-setup
- All courses are listed in the Agent course roadmap
Comments (0)
No comments yet. Start the conversation.