

What you'll get
Blender Agent Skills is an open-source skill pack. Once your AI agent has it, the agent can take a 3D asset in Blender from modeling all the way to rigging and animation, export it for Unity, Unreal, Godot, or Roblox, and then run a quality check on its own work. You don't need to know Blender. You just describe what you want and check the QA report it sends back. This article includes three prompts you can copy and paste as they are.
If you ask an AI to write Blender scripts directly, the usual result is a script that errors out on the first run, or a model that looks fine in a preview but breaks in a game. The textures stretch, parts float in the air, and two layers of faces fight each other and flicker. This skill pack covers the step that comes after the build: checking the work. If the asset fails QA, your agent isn't allowed to say it's done.
What the difference looks like
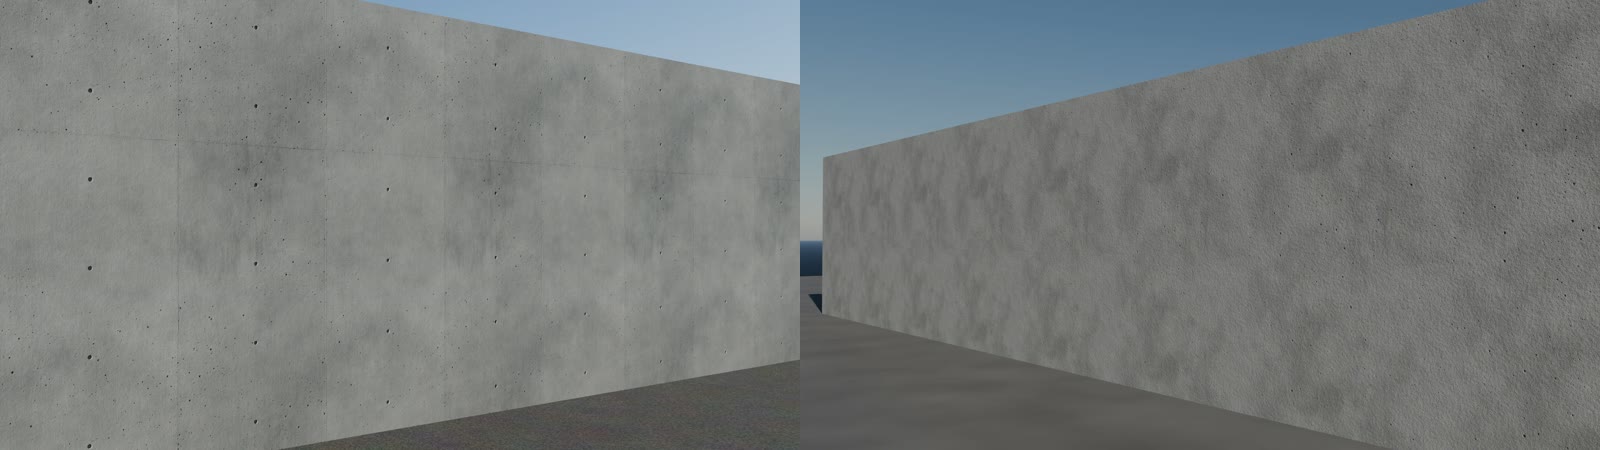
The author ran the same model with the same one-line prompt twice. Each run got only that one sentence, with no follow-up questions and no manual edits in between. The image comes from the project's comparison page. The biggest difference is in the output:
- It's ready for the engine: With the skill pack, the agent bakes the materials into the texture set that game engines need, and exports formats like FBX and GLB. You don't just get a nice-looking render.
- Parts have their own names: If you make a prop, the slider, barrel, and magazine are separate parts. That makes it easy to change one piece later or to animate it.
- It comes with a QA report: Multi-angle wireframes, material views, and keyframe shots make it easy to spot clipping and floating parts at a glance.
The skill pack covers 28 skills. They include hard-surface modeling, sculpting, UV unwrapping, PBR materials, texture baking, character rigging, facial expressions, animation and motion-capture retargeting, clothing, hair, terrain and vegetation, weather effects, rendering, and video editing. It also includes a "read me first" entry point that routes your request to the right skill.
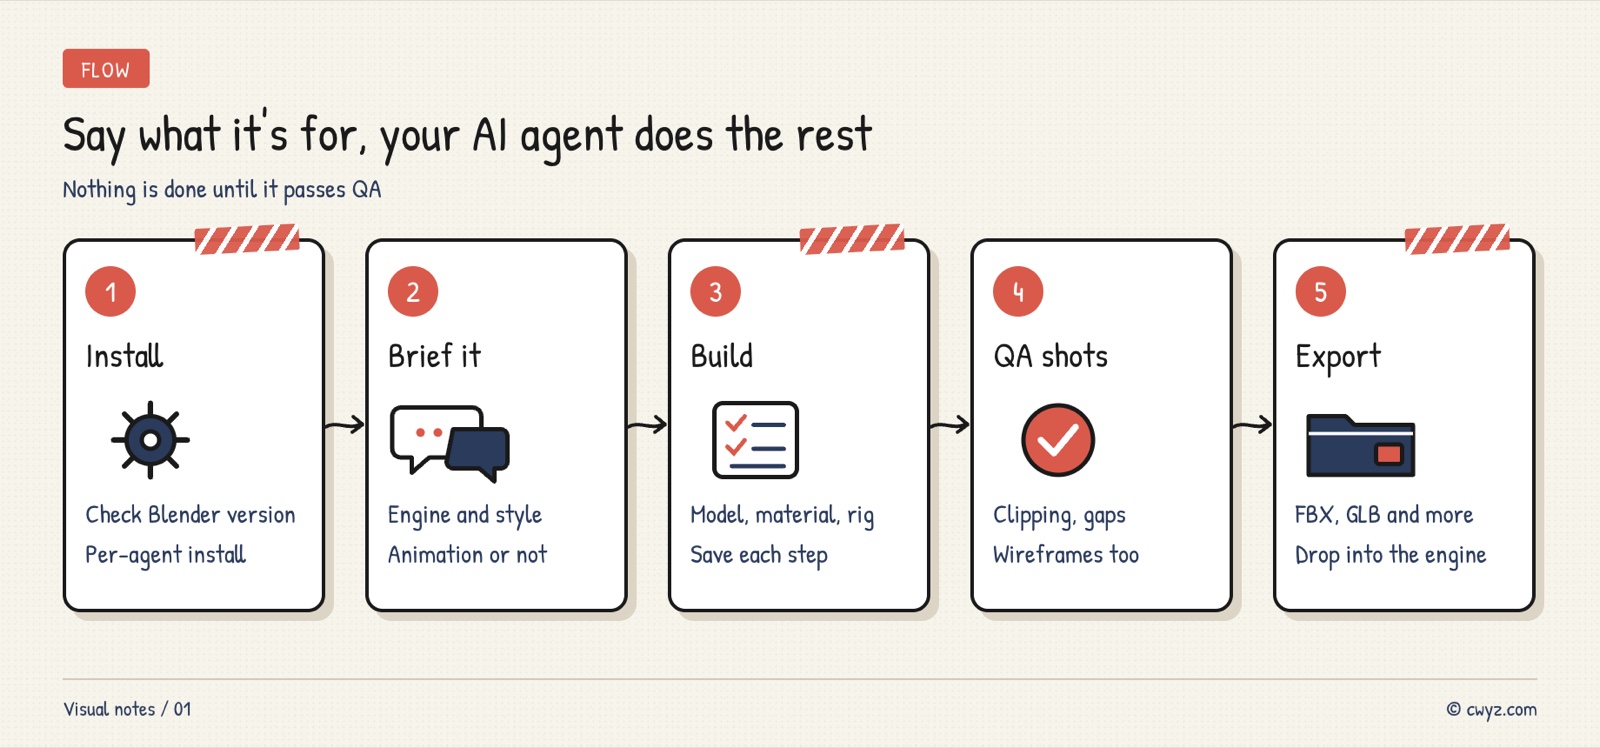
Step 1: Let your AI agent install it
Please install Blender Agent Skills for me: https://github.com/EL4CTEO/blender-skills
1. Read the README first, and tell me in plain words where it installs and which version of Blender it needs.
2. Check whether Blender is on my computer and whether the version is new enough (version 5.2 LTS or later is required; the author recommends 5.3). If it's missing or too old, tell me where to download it first, and wait for my OK before installing anything.
3. Install it for this AI agent as the README describes, then list the skill names that got installed.
4. Run its built-in environment check, and tell me the Blender version, which render engines are available, and whether GPU acceleration is available.
Claude Code can install it with one command as a plugin. For other agents (Codex, Gemini CLI, Cursor, Copilot, and OpenCode), the repo has an install script. Let your agent follow the README and pick the right option.
Do you want your agent to control the Blender window you have open? You can set up a Blender MCP server, a connector that lets an agent operate Blender remotely, so you can watch it build step by step. You don't need it. Without it, the agent runs Blender in the background, finishes the job, and hands you the result files and screenshots. For your first time, skip the MCP server and let it run in the background. It's simpler.
Step 2: Say what you want and where it goes
Sign in to unlock this key section
New accounts get 10 free credits, plus 1 more each day you sign in (none on days you don't). Spend 1 credit to unlock and it stays open for you.
Item 1 matters most. The purpose decides how many polygons it can use, how the textures get baked, and which export format it needs. If you only say "make a crate," you'll get a nice-looking model that may not work in your game. Item 4 lets you look at the plan before the agent starts, so you can fix the direction early if it's off.
Step 3: Check the QA report before you change anything
Show me the QA results for this asset:
1. For each part, how many triangles it has and the total. Compare that with my purpose and tell me whether anything is over the limit.
2. Check for faces that clip and flicker, parts floating in the air, flipped normals, and stretched textures. List what you fixed, what warnings are left, and why they're acceptable.
3. Render a set of multi-angle images: one set with the normal materials, one wireframe set, and, if it's animated, a few keyframe shots.
4. List the exported files and where they're saved.
Screenshots are more reliable than the report. The numbers may say "pass," but look at the screenshots yourself to check for clipping and floating parts. If something looks wrong, just say so, for example, "the left handle is too thin" or "the hand goes into the body when walking." Your agent can fix that one step without starting over.
Heads up
- Install Blender first: Versions older than 5.2 LTS will error out. Blender is free, so just download it from the official website.
- Break complex jobs into parts: If you ask for a character, rig, clothes, and hair all at once, it's hard to find where something went wrong. Get the model right first, then add animation.
- Background jobs use your computer: Baking textures, rendering, and cloth simulation can take a while on an average computer. If your agent is still working, don't interrupt it.
- The author's testing is their own claim: The repo says every script was tested in real Blender. We haven't tried each one ourselves, so you should still check the screenshots before you accept the result.
Comments (0)
No comments yet. Start the conversation.