

What you get
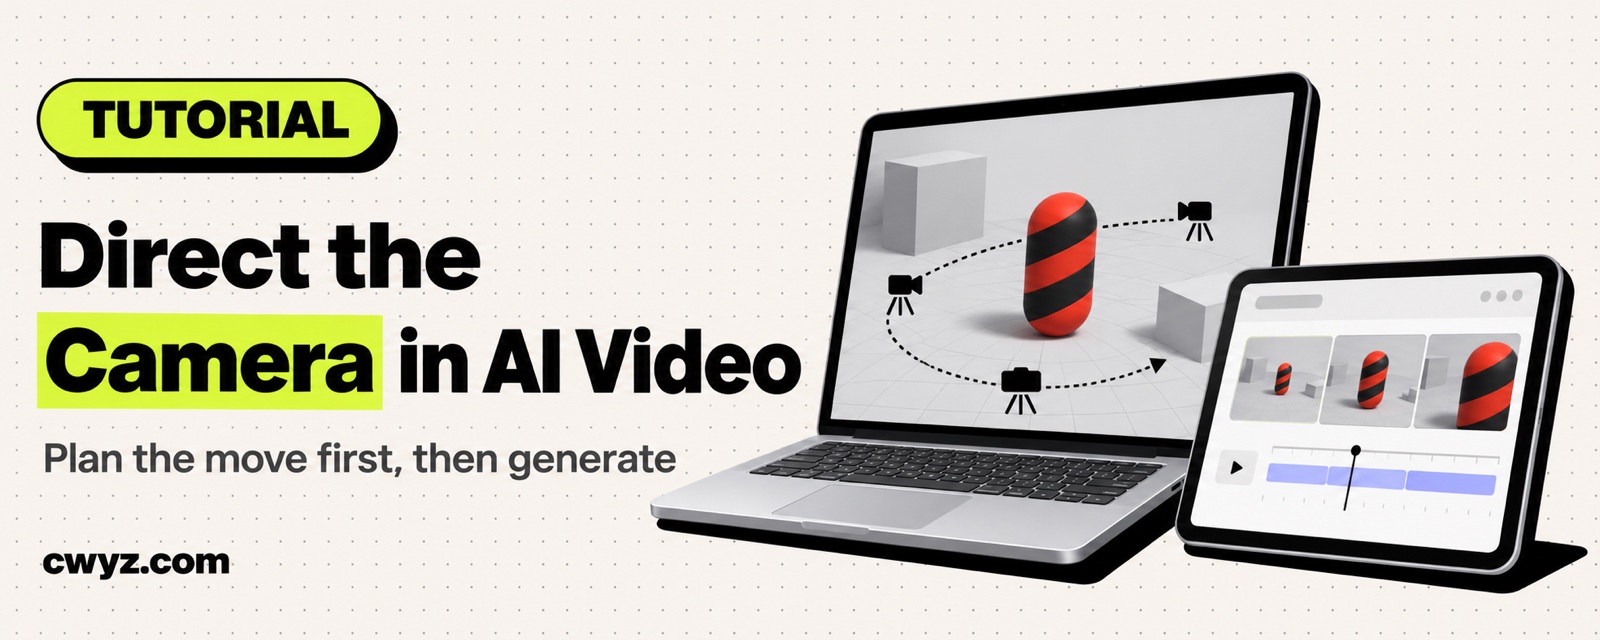
Getting an AI video generator to hold a specific camera move is hard. Ask for an orbit and you get a push-in. Ask for a cut on second 3 and it lands on second 5. This tutorial takes a different route. Your AI agent uses an open-source library of film camera templates to render a grey "camera preview" on your own computer, with striped capsules standing in for people. You then hand that preview to Seedance 2.5, which generates real footage that follows the same camera path. The library has 137 camera moves, including dolly, orbit, one-take shots and FPV, and every one of them can be edited. The full article includes 3 prompts you can copy as they are.
Here is the split of work. Your AI agent edits the templates, renders the grey preview, writes the prompts and works out the cost. You describe the shot you want, pick the template, check the draft, and approve every paid step before it runs.
Why this controls the camera

The image comes from the demo GIF in the project's GitHub repository.
Seedance 2.5 accepts a reference video. It learns two things from it at once: how the camera moves, and how the people in the frame move. If the reference shows a real person, it copies that person's motion too.
This project's approach is to put only a striped capsule in the reference video. It is the same height as a real person, and a white dot shows which way it faces. A capsule has no arms or legs to copy, so the model can only learn the position, facing and timing. Who the person is and what the setting looks like come from your photo and your prompt. The camera path, its speed and the frame where each cut happens are all written in code, so the result follows the plan you set.
| What you want | Prompt only | Grey preview first |
|---|---|---|
| Orbits and dolly moves | The model guesses, and often drifts | Follows the path in the grey preview |
| A cut on a specific second | Often early or late | The cut lands on the frame you set |
| Person's position and facing | Random | Matches the capsule |
| Person's look and the setting | Decided by the prompt | Still decided by your photo and prompt |
Step 1: Have your AI agent install it and render a grey preview locally
This step costs nothing and needs no account. Give the following to your AI agent:
Please help me try out the open-source film camera template library at https://github.com/sirioberati/ai-filmmaking-camera-control-seedance-2-5 on my computer.

1. First read the README and AGENTS.md. Explain in plain language how it works, what it needs, and which steps cost money.
2. Check my computer. Node.js needs to be 22.12 or newer, and I also need ffmpeg and about 500 MB of free space. List whatever is missing and ask me before installing anything.
3. Clone it into [the folder you want to put it in], install it as the instructions say, and render a grey preview of CAM06-Orbit (the orbit move). Tell me where the video is saved and help me open it.
4. This step only renders locally. Do not connect to any video generation service, and do not ask me for an API key.
The first render takes a few minutes, because it downloads a headless browser automatically. The result is a 7-second grey clip: a few pillars and some trees, with a red-and-black striped capsule standing in the middle while the camera circles it once.
Step 2: Describe the shot, and let it pick a template and adjust the camera
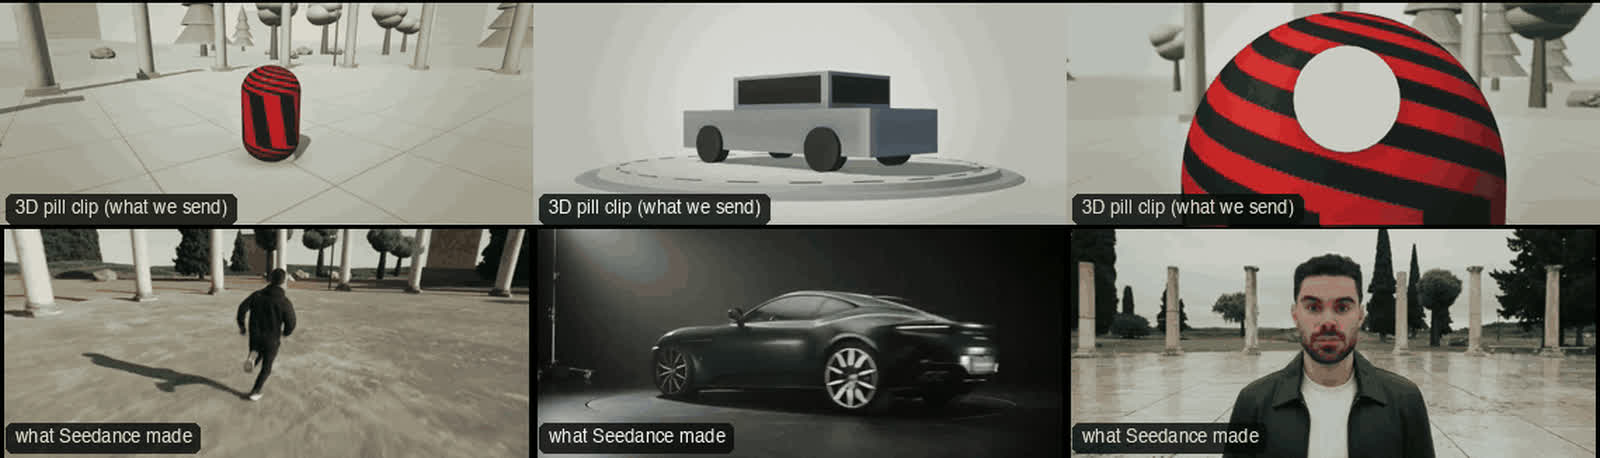
The top row shows the grey previews sent to the model, and the bottom row shows what Seedance 2.5 produced from them. Both come from the project's GitHub repository.
You do not need to know the professional names for camera moves. Just describe the picture in everyday words:
Sign in to unlock this key section
New accounts get 10 free credits, plus 1 more each day you sign in (none on days you don't). Spend 1 credit to unlock and it stays open for you.
The two rules in item 2 come from the author's own lessons. A template where the camera never moves produces stiff footage, and a shot shorter than 2 seconds gets read by the model as a cut. Item 4 matters too. If the prompt does not describe the scene again in full, the model copies the grey cones and blocks from the preview straight into the picture.
Step 3: Make a cheap draft first, then HD once you approve
This step costs money. The repository does not include any keys. Video is generated through the Seedance 2.5 model on the Tein platform. You'll need your own account on tein.ai and a key from its dashboard, saved on your computer as the TEIN_API_KEY environment variable. If you are not sure how, ask your AI agent to show you, but do not paste the key into the chat. Then give it this:
I have approved the grey preview and the prompt. Now make one draft with Seedance 2.5.
1. The key is already in the TEIN_API_KEY environment variable. Do not ask me for it in the chat, and do not write it into any file.
2. First call the free pricing endpoint to work out what this 480p draft will cost. Show me the full request and the price, and send it only after I reply "OK".
3. Use the grey preview you just rendered as the reference video. Use this photo as the reference image: [photo path, your own or one whose subject has agreed to it].
4. When the draft is ready, compare it side by side with the grey preview. Check whether the camera move is right, whether the cut timing is accurate, and whether any capsules crept into the picture. Give me the results as a table.
5. Only after the draft looks right and I approve it should you upgrade to 1080p.
The draft is 480p, and it is mainly there to check that the camera moves the right way. In the author's own billing on a previous platform, a 7-second draft from a grey preview cost about 1,000 credits (roughly US$1). The final version comes to about 5.5 times the draft. Tein's actual prices are listed at tein.ai/pricing. Item 2 asks your AI agent to quote the price first so that you know what each paid step costs before it runs.
Notes
- It controls the camera, not the people: the capsules have no arms or legs, so describe any hand or leg movement in the prompt, and spell out complex actions.
- Keep reference videos to 29 seconds or less: longer ones are rejected.
- Some fight shots get blocked by copyright filters: the author's ACT07 fight template was blocked every time. Try another template or rewrite the scene.
- Use only photos of people you own or who have agreed to it: generation follows the face in the photo, so do not use anyone else's.
- Every regeneration is a new clip: running the same prompt again gives different footage. When you get a draft you like, upgrade it. Do not rerun it.
- Check the license before commercial use: the repository code and templates are MIT-licensed. The Remotion renderer is free for individuals and small teams, but large companies need a paid license. Read NOTICE.md in the repository before you use it.
If you want to block out the whole set in 3D software before you generate, see Use Blender grey blocking to lock the indoor shot composition for AI video.
Comments (0)
No comments yet. Start the conversation.