


What you'll get
Use the open-weight MiniMax H3 to make a low-res preview clip first, then pass it to the open-source upscaling model ReCaVSR to push the picture to 2K or higher. No coding is required. Installing the plugin, downloading the models, and troubleshooting are all written as prompts. There are two in total, and you just copy them to your AI agent.
AI video usually takes several tries to get right, so trial and error at low resolution is fast and cheap, and only the version you like gets upscaled. Some creators say a full short film takes about two hours from start to finish. We haven't verified this number. It depends on your GPU and how many shots you have.
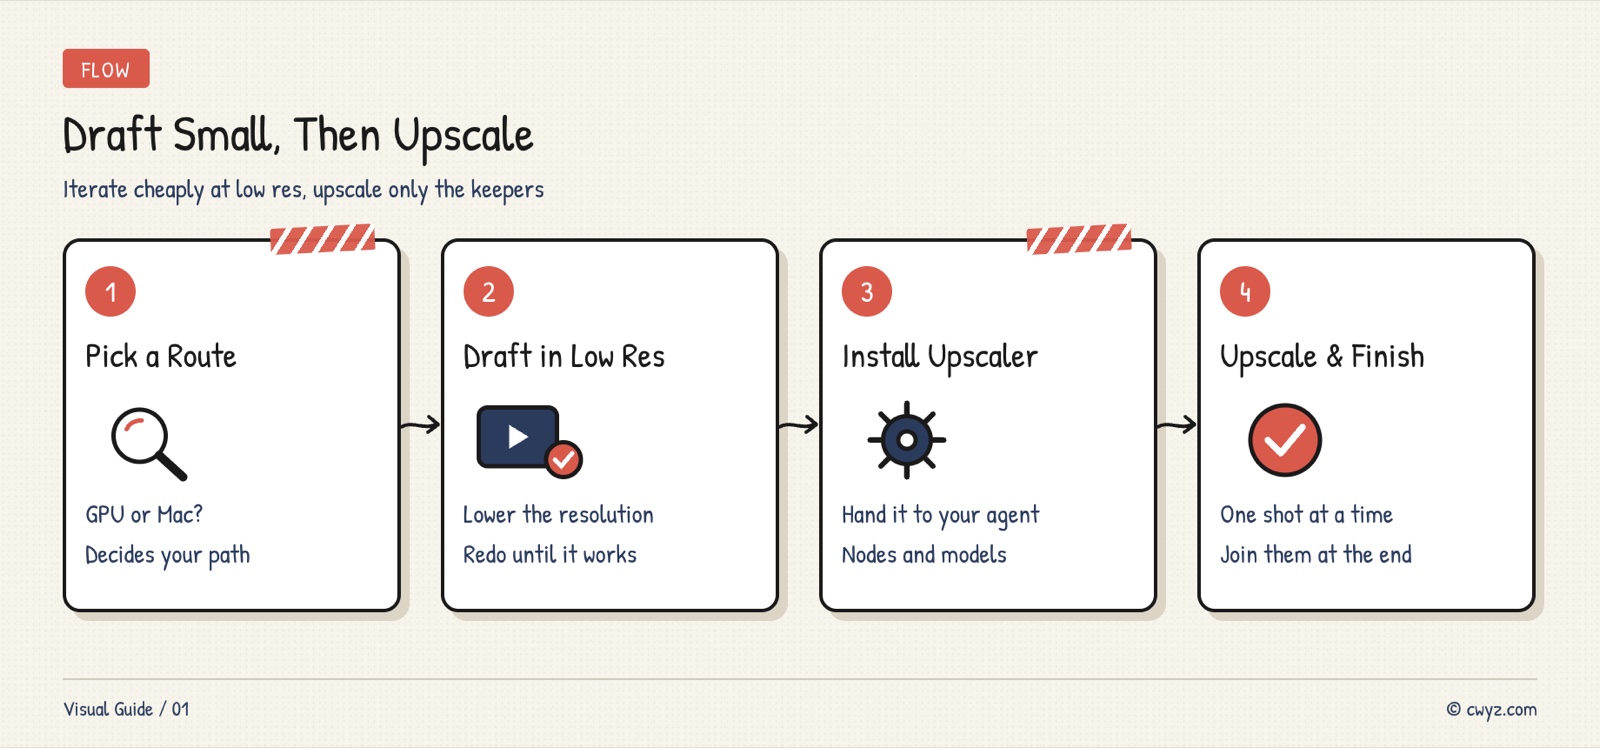
Pick a route based on your computer first. Then make the preview, install the upscaling tools, and upscale one shot at a time.
Why not generate HD directly
MiniMax H3 can generate video with sound and picture together. Its open-weight default outputs frames around 768 pixels on the short side. ComfyUI's official docs also state that 2K output is only available from MiniMax's own online service. To reach 2K locally, you need an extra upscaling step.
ReCaVSR is that step. It is an open-source video super-resolution model from a research team at USTC in China. Super-resolution means enlarging low-res video while filling in detail. Its code is under the Apache-2.0 license. Unlike plain stretching, it looks at the frames before and after to fill in details like hair, fabric, and signs, and it tends not to flicker between frames.
Image from the ComfyUI-ReCaVSR repository. A crop from a 960×480 clip upscaled to 3840×1920.
Keep these three numbers in mind before you start.
- Scale factor: ReCaVSR was trained at 4x, and that gives the most stable results. Upscaling a 480p preview 4x brings the short side to 1920, which is above 2K. A 768p preview upscaled 2x also reaches 1440p.
- VRAM: According to the plugin author's tests, 8 GB of VRAM can upscale to 1440p. 4K-class output needs 24 GB.
- Shots: ReCaVSR treats a clip as one continuous shot, so the first few seconds after a cut will flicker. Upscale each shot separately.
Step 1: Pick a route for your computer
Start with what computer you have, since the three routes differ a lot.
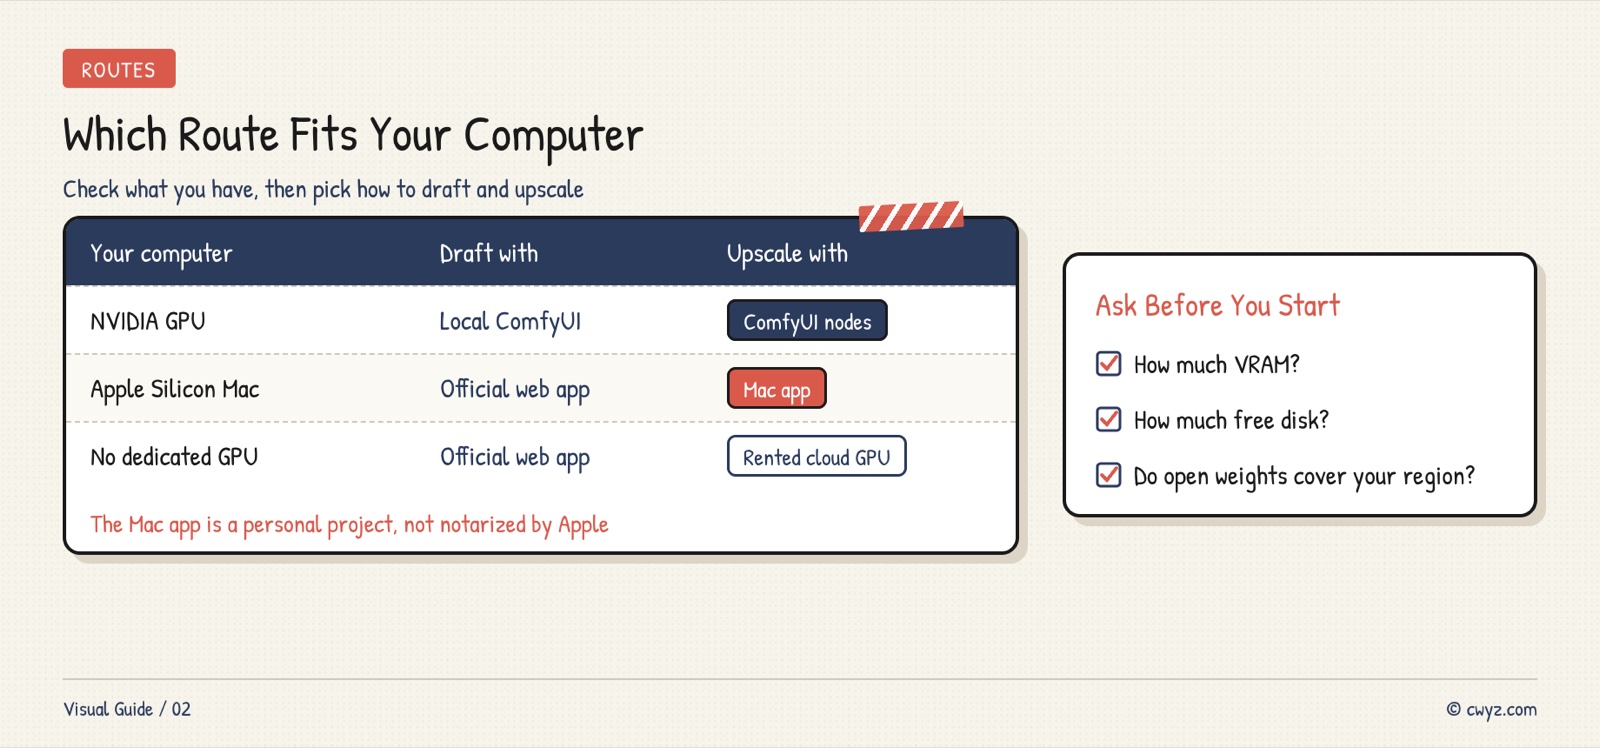
Windows or Linux computer with an NVIDIA GPU: both the preview and the upscaling run locally in ComfyUI. ComfyUI is free software where you build AI workflows by dragging nodes together, and both H3 and ReCaVSR have ready-made templates.
Apple silicon Mac: We haven't found an official way to run H3 locally on a Mac, so for previews we recommend generating in the official Hailuo web app (hailuoai.video). For upscaling, you can use a Mac app made by an independent developer. Drag in your video and choose 2x or 4x. The author recommends 32 GB or more of memory.
No discrete GPU: Make previews in the official web app, and rent a cloud GPU for upscaling. Our tutorial on managing Colab cloud GPUs with an AI agent covers that.
One restriction to check first: H3's open-weight license currently does not cover the US, EU, UK, or South Korea. If you are in one of those places, you must first apply to MiniMax for a license, or use the official web app or API.
Not sure which group your computer falls into? Give the prompt below to your AI agent, and it will check and then advise you.
I want to make AI video on this computer: first make a low-res preview with MiniMax H3, then upscale it to 2K or higher with ReCaVSR.
Please do a read-only check first, and don't install anything:

1. What operating system is this computer running? Does it have an NVIDIA GPU, and how much VRAM? If it's a Mac, is it Apple silicon, and how much memory?
2. How much free space is left on the system drive and on any other drives? (The model files add up to tens of GB.)
3. Is ComfyUI installed? If so, where, and what version?

After the check, tell me in plain language which route suits me (local ComfyUI, Mac app, or web app plus cloud GPU), and why.
If anything is unclear, ask me with multiple-choice questions. Stop after the check and wait for my confirmation.
The read-only check comes first so you can confirm your VRAM and disk space before deciding what to download. That way you won't find out after downloading tens of GB that it won't run.
Step 2: Make a low-res preview
Local ComfyUI route: In ComfyUI's Templates, find the MiniMax H3 text-to-video or image-to-video template. The first time you open it, ComfyUI will say which model files are missing, and you can have your AI agent download them as prompted. Before generating, lower the resolution to around 480p and keep the duration short, so you can check the motion and framing first.
Web app route: In the official Hailuo web app, choose the H3 model, write your prompt, generate, and download the video.
At this step, only check whether the content is right. Sharpness can wait, since upscaling comes later. If the motion is unnatural, people are distorted, or the framing is off, change the prompt and regenerate. Trying several times at low resolution is the cheapest way to get it right.
When a film has several shots, generate each shot separately and save each as its own file, numbering them in order. That makes upscaling and stitching easier later.
Step 3: Have your AI agent install the upscaler
Local ComfyUI route: Give the prompt below to your AI agent. It will install the ReCaVSR ComfyUI plugin, download the model files, and pick the right version for your GPU memory.
Sign in to unlock this key section
New accounts get 10 free credits, plus 1 more each day you sign in (none on days you don't). Spend 1 credit to unlock and it stays open for you.
The prompt fixes the match between VRAM and the main model because the int8 version is smaller and faster. According to the plugin author's comparison, its image quality is almost indistinguishable from the original, so most GPUs are well served by it. The Triton step is called out separately because the plugin still runs without it, just much more slowly, and you should know that in advance.
Mac route: Go to the project's Releases page, download the dmg installer, and drag the app into the Applications folder. Apple hasn't notarized it, which means macOS stops it on first launch. Let it through once with the "Open Anyway" button under System Settings → Privacy & Security. After opening it, click Download models to download the model files, about 6.5 GB. This is a personal project, so decide for yourself whether you can accept the risk before installing.
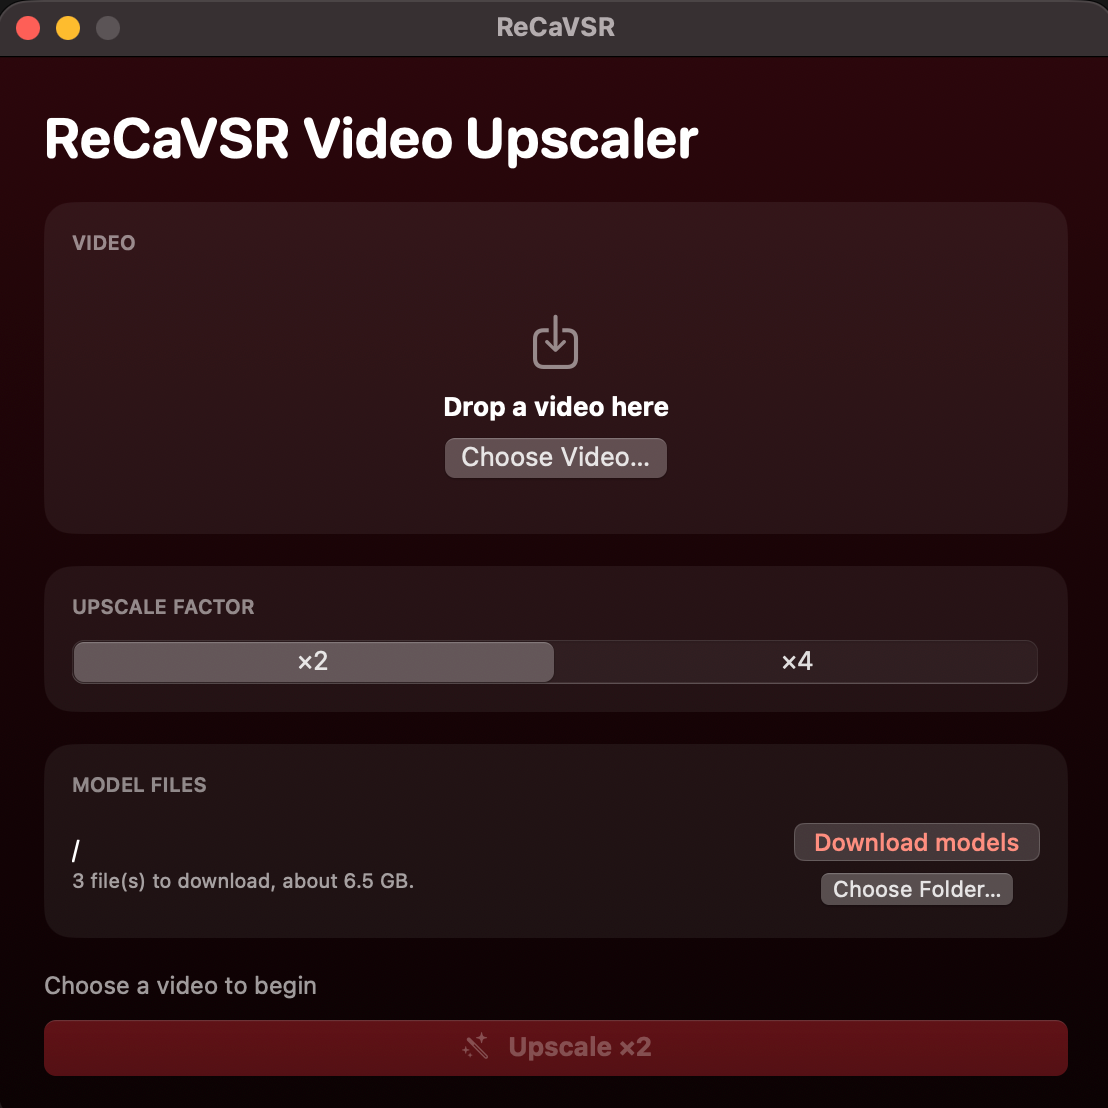
Image from the ReCaVSR Video Upscaler repository.
Step 4: Upscale one shot at a time
Local ComfyUI route: Open the recavsr_video_4x template, select the preview of your first shot in the Load Video node, and click run. The upscaled video is saved automatically, and the original audio and frame rate are kept.
Mac route: Drag the preview into the app window, choose ×4, and click Upscale. The result is saved next to the original video, with "upscaled" added to the filename.
The first time, test with your shortest shot. Check whether the picture became clearer, whether faces and text are distorted, and whether the colors shift. If all looks good, upscale the other shots one by one.
After all shots are upscaled, stitch them into one complete video in number order. If you know how to use video editing software, you can stitch them by hand. If not, have your AI agent use ffmpeg to join them in filename order, then export the resolution you want.
Notes
- There is a flicker at each cut, because ReCaVSR treats the whole clip as one continuous shot. Don't feed the stitched full film in for upscaling all at once. Upscale shot by shot first, then stitch.
- The official command-line script outputs video without sound, while the ComfyUI plugin and the Mac app keep the original audio. If you use the official script, remember to add the audio back at the end.
- The details upscaling adds are drawn in by the model. Small text or distant faces that were already blurry in the preview may look different from what you expected after upscaling. Add important text in post-production.
- Characters, voices, and brand material generated by H3 must follow its community license. ReCaVSR's model weights also have their own terms of use, so read both licenses before any commercial use.
References
- MiniMax H3 model page (Hugging Face)
- ComfyUI's official MiniMax H3 tutorial
- ReCaVSR official repository
- ComfyUI-ReCaVSR plugin
- ReCaVSR Video Upscaler (Mac app)
If you want to get familiar with the H3 series in ComfyUI first, see the H3-Image ComfyUI tutorial.
Comments (0)
No comments yet. Start the conversation.