
What you'll get
Give your AI agent the free, open-source Stickman Video Director. Hand it a topic, an article, or a script, and it will produce a stickman animation with narration, subtitles, and sound effects. You don't need to be on camera, you don't need to know video editing, and you don't need to buy extra credits for a video model. The post includes three prompts you can copy.
The split of work is simple: your AI agent handles everything from script to finished video, and you make the calls: which art style to use, whether the sample is good enough, and what needs to change. At each big step it stops and waits for your go-ahead, so it only spends time on the full video once you're happy.
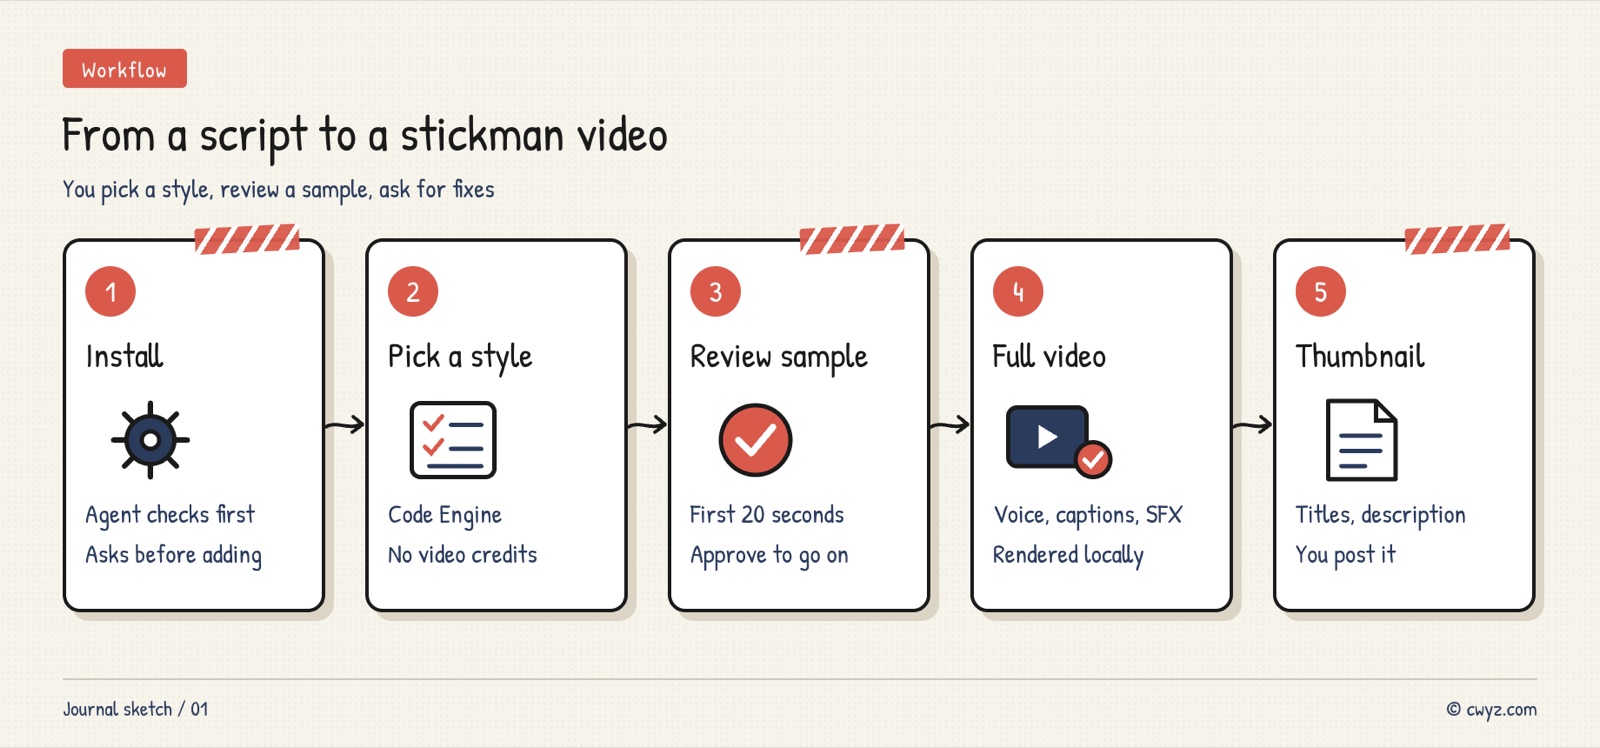
There are five steps. First, have your AI agent install the Skill and check your computer. Next, pick an art style for the code engine. Then review the full script and the first 20 seconds of sample footage. Once you approve, the agent adds narration, subtitles, and sound effects, then renders the full video on your computer. Last, you can optionally have it make a cover and publishing copy. Uploading is up to you.
Meet the tool
Stickman Video Director is an open-source Skill (MIT license) with more than 6,000 stars on GitHub. A Skill is a written instruction manual for AI. Once it's installed in your AI agent, the agent knows how to direct a stickman video.
According to the project's own documentation, it works in two modes:
| Code engine (mode B) | Model engine (mode A) | |
|---|---|---|
| How the visuals are made | Draws the characters and scenes first, assembles them into animation with code, and renders on your computer | Sends each prompt to a video model, which generates the moving visuals directly |
| Video credits used | None. Only your AI agent's own quota, plus image and voice services | Uses your video platform's credits, so long videos get expensive |
| Best for | People who already pay for an AI agent and don't want to buy video credits | People with access to video model resources who want a cinematic look |
If you're just starting out, use the code engine. All the steps below follow it. The project author says the sample videos were made in an AI agent with strong coding skills. With a weaker agent, your results may look noticeably different.
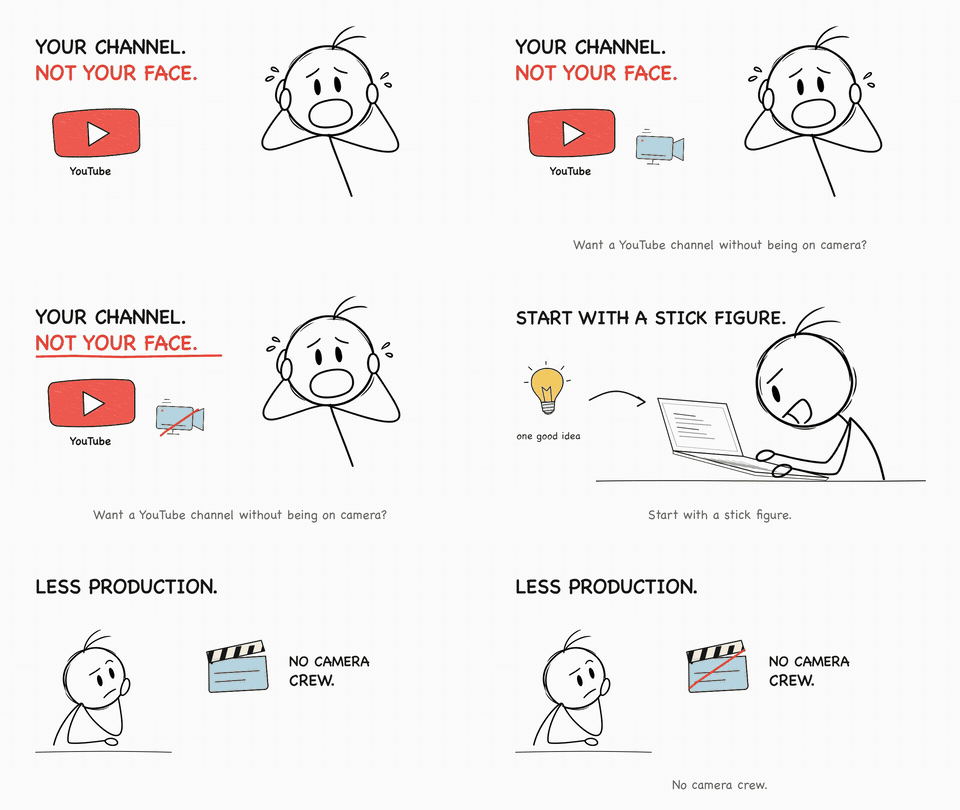
Image from the project's README. It shows the "Minimal Line Art" style in the code engine.
Step 1: Have your AI agent install it
Send this to your AI agent:
Please install the open-source Skill for me: https://github.com/kaomei/stickman-video-director

1. Start with a read-only check: my operating system, whether you have file access and a terminal, and whether the video tools are installed. If something is missing, explain in plain language how you plan to install it, and wait for my okay before installing anything.
2. After installing, read its SKILL.md and tell me you're ready.
3. Tell me which image and voice-over tools the code engine needs, whether I already have usable ones, and which of them cost money and roughly how they're priced. Use multiple-choice questions for anything you're unsure about.
4. Don't sign me up for any service, and don't fill in any API keys.
The third item matters most. The code engine itself doesn't use video credits, but the artwork needs an image tool and the narration needs a voice service. Find out where those come from and whether they cost money before you start.
Step 2: Pick an art style
The project README has a sample for every style. The code engine currently offers seven, ranging from minimal line art to pixel theater. Open the project page, scroll down, and pick the one that fits your content.
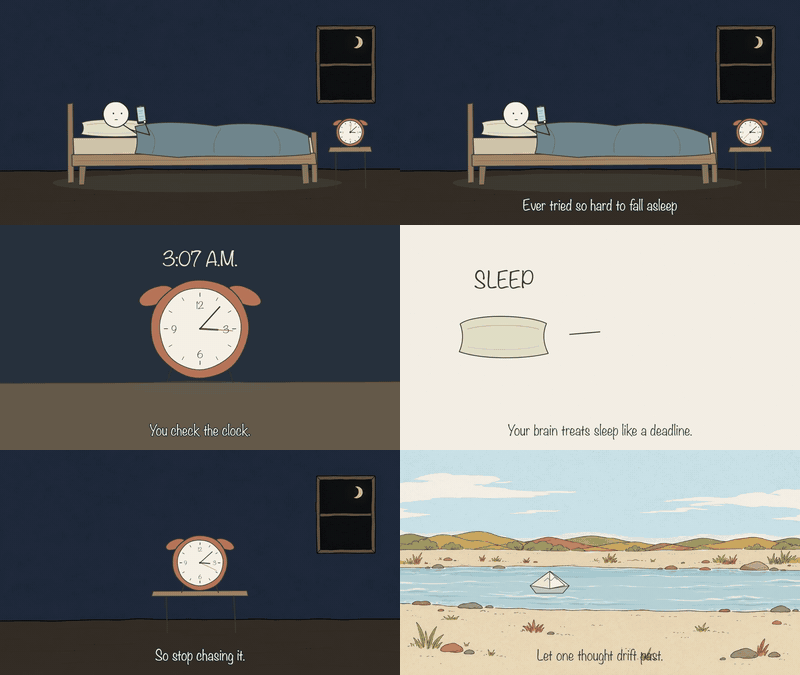
Image from the README. It's the "Colorful Hand-Drawn" style. For explainers and arguments, Minimal Line Art or Colorful Hand-Drawn rarely goes wrong. If you want suspense, comedy, or recurring characters, try another style.
Step 3: Review the script and a 20-second sample
After you pick a style, send this to your AI agent and replace the brackets with your own content:
Sign in to unlock this key section
New accounts get 10 free credits, plus 1 more each day you sign in (none on days you don't). Spend 1 credit to unlock and it stays open for you.
Why ask for a 20-second sample first? The full video needs lots of assets and takes a long time to render. Watching a short clip first lets you fix the style, the voice, and the pacing cheaply. Check three things: whether the first three seconds grab attention, whether the subtitles match the narration, and whether the motion shows what's being said. If something is off, say so directly, for example "slow the narration down" or "use a different metaphor in the second scene."
Step 4: Render the full video after you approve
When the sample looks right, reply "Looks good, make the full video." The agent will use the same style to finish the remaining assets, animation, subtitles, and audio, then render the complete video on your computer. Rendering speed depends on your machine, and long videos take a while.
Once it's done, watch the whole thing. If one section doesn't work, point to that section only and ask the agent to change just that part. The parts you already approved don't need to be redone.
Step 5 (optional): Make the cover and publishing copy
Once you're happy with the video, you can have the agent prepare what you need to publish:
Now package the finished video for publishing, keeping the art style I already approved:
One 16:9 landscape cover, five title options, a description with tags, and one interactive question to pin as the top comment. Then give me a pre-publish checklist.
Don't upload or publish anything for me.
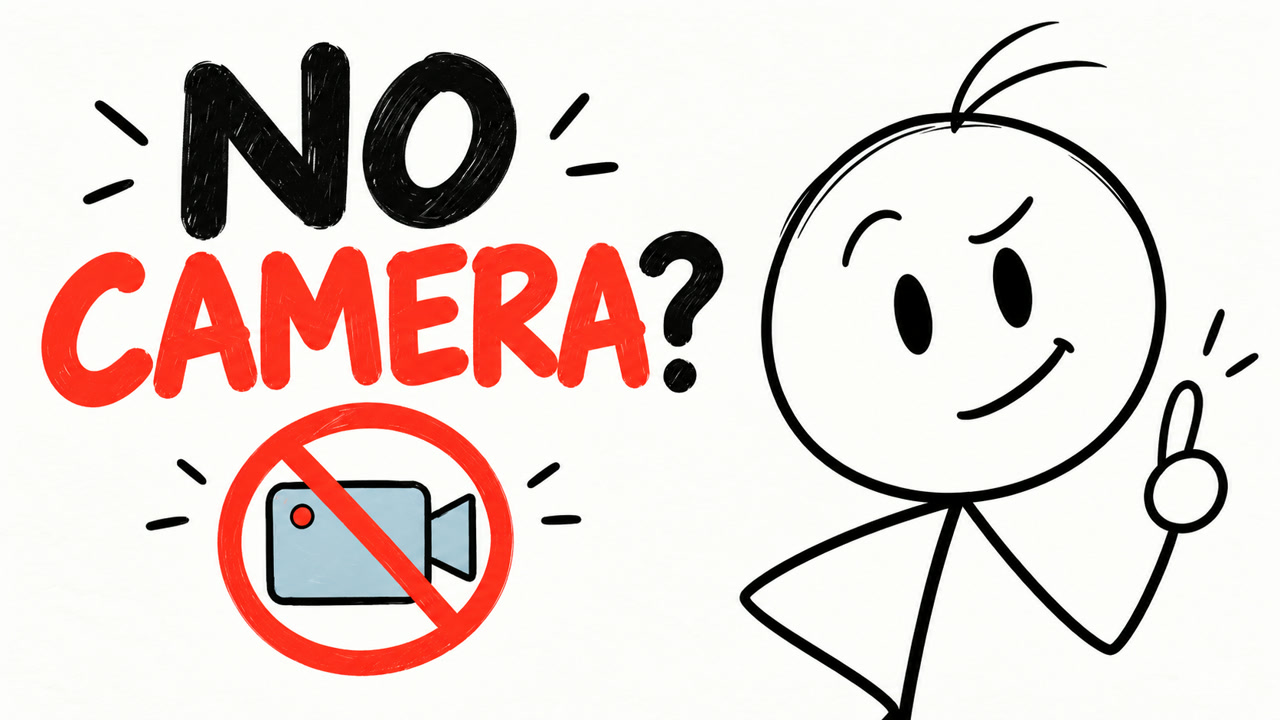
Image from the project's README, showing a sample cover the project provides. The agent only creates files. It won't upload anything for you. Downloading the cover and pasting the copy into the YouTube or TikTok dashboard is up to you.
If you want a faceless explainer with a more hand-drawn planner look, see the complete beginner's guide to faceless explainer videos.
Watch out for
- Images and voice-overs may cost money: the code engine doesn't use video credits, but the artwork and narration rely on other services. Have your AI agent explain the costs before you start.
- Monetization is up to the platform: the project says its videos meet monetization standards. That's the author's claim. YouTube and TikTok review content by their own rules, so before you publish, check each platform's rules on AI-generated content and label your video as required.
- Only use material you have rights to: your articles, images, and music should be your own or properly licensed. Don't copy other people's content directly.
- Don't expect a perfect first video: results depend on how capable your AI agent is, and your first video will likely need several rounds of revisions.
Comments (0)
No comments yet. Start the conversation.