

What You Get
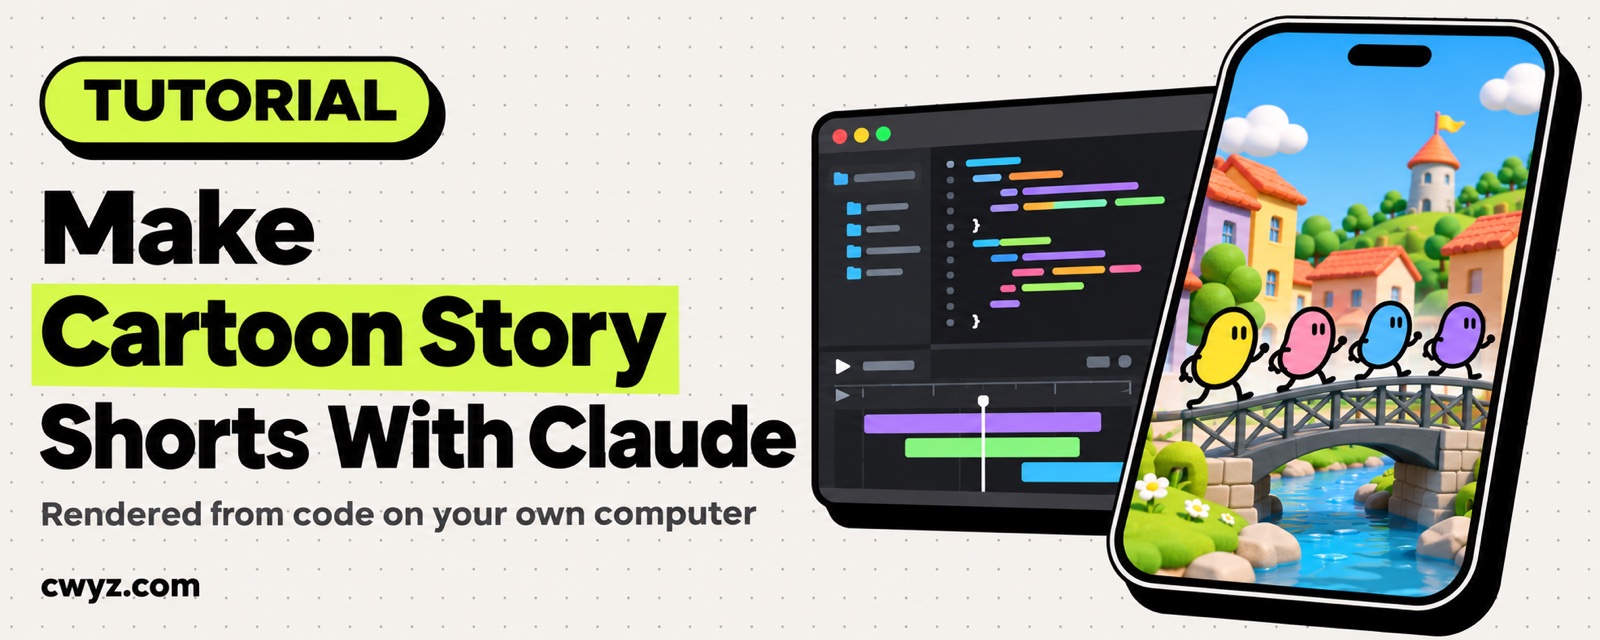
Install the open-source claude-animated-shorts skill, and Claude Code can make a roughly one-minute vertical cartoon story short on your own computer. Flat 2D characters stand inside a colorful 3D town, with ink outlines, depth-of-field blur, sliding camera moves, and a finished soundtrack and sound effects. The guide includes three copy-ready prompts.
The workflow doesn't call any AI video generation model. Every frame is rendered from code, so there are no per-clip fees, you only re-render the shots you change, and characters never suddenly change faces. The trade-off is that you need to install some developer tools, and your first short will take a lot of time and Claude usage.
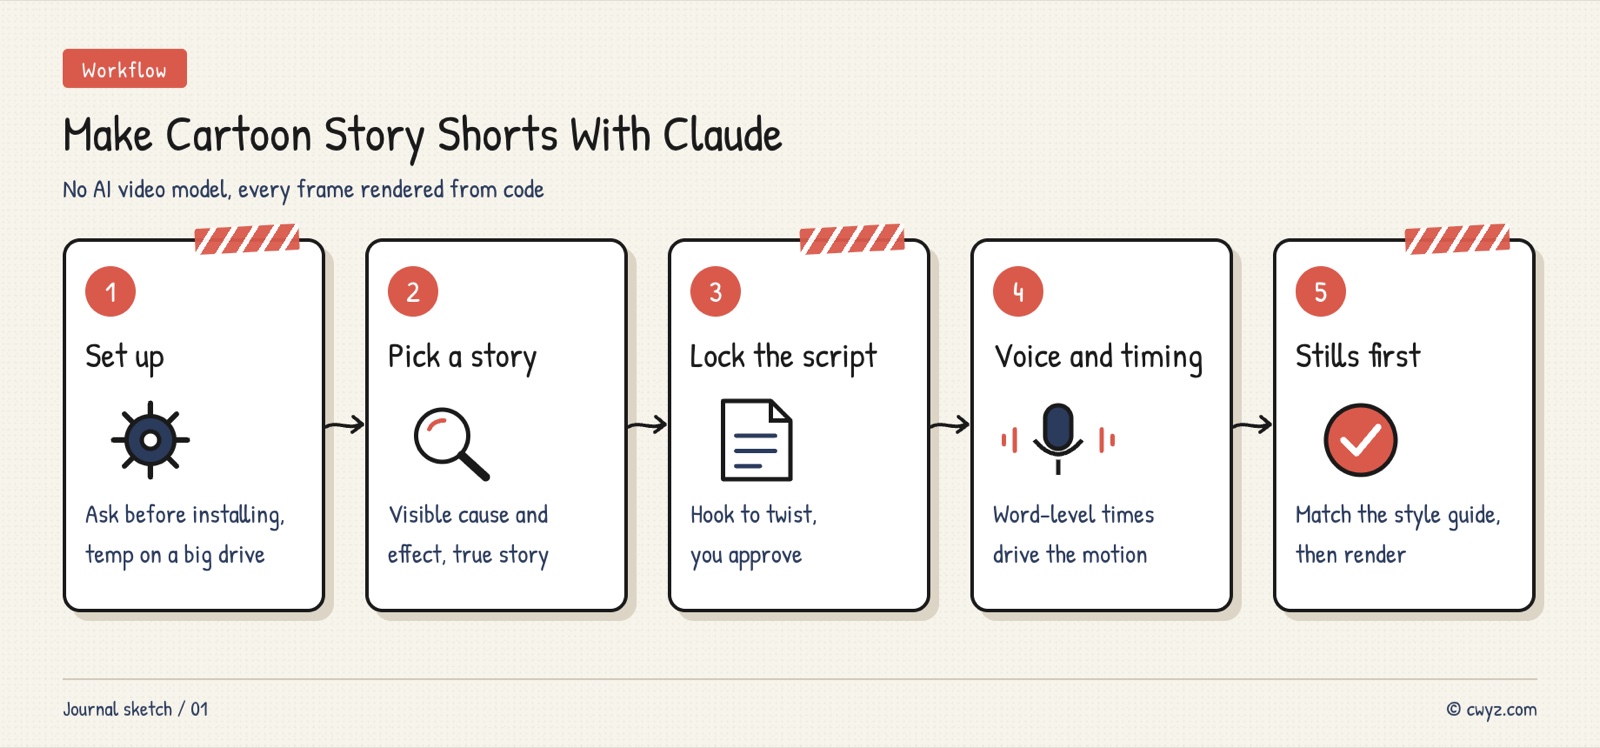
The steps: install the skill and environment, pick a real story with strong visuals, lock the script and narration, check a few screenshots for style, and finally render the video.
Why Code Instead of an AI Video Model
The developer, mromidev, released the skill as open source under the MIT license, and it has about 3,900 stars on GitHub. The developer first used it to make a 67-second short about the 1831 collapse of a British iron bridge, which gave way when 74 soldiers marched across it in step. The whole approach is written into the skill:
- Scenes are rendered with three.js and Remotion. three.js is a tool for drawing 3D graphics in the browser. Remotion is a framework for making videos with code. Scenes, characters, and camera moves are all code, so changes are controllable and every render produces the same result.
- It includes a style guide. The author measured 20 similar viral shorts and turned their shot pacing and depth of field into numbers and rules. Outline thickness and colors are covered too. When it finishes, your AI agent compares its own frames against the guide.
- The script follows a fixed structure. It opens with an absurd but true fact, sets the time and place, escalates through a few steps to the moment everything goes wrong, explains the principle with an everyday analogy, and ends with a twist.
- The sound is generated too. Scripts produce the sound effects and a march-style soundtrack. The music is automatically lowered under the narration.
There are two things to know up front. The skill narrates in English by default and puts no captions on screen. Remotion is free for individuals and for small companies of three people or fewer. Larger companies need a paid license.
Step 1: Have Your AI Agent Install the Skill and Environment
You need Node.js, Python 3, ffmpeg, and Remotion. Give this prompt to your AI agent:
Install the open-source claude-animated-shorts skill for me (github.com/mromidev/claude-animated-shorts) so I can make cartoon story shorts.

1. First, check whether Node.js, Python 3, and ffmpeg are on my computer. If anything is missing, tell me what to install and why, and wait for my approval before installing anything.
2. Follow the README to put the skill in my skills folder (name the folder cartoon-3d-short). Then set up a Remotion project with three.js support.
3. The README says each render copies about 1.3 GB of assets into a temporary folder. Point the temporary directory at the drive with the most free space, and tell me where you set it.
4. When you are done, explain in plain language what you installed and how much disk space each piece uses. Also tell me whether the Remotion license terms apply to me. I am [individual / small team of a few people / company].
The third step matters. Without it, your system drive can fill up with temporary files quickly. The fourth step has your agent check the license, so you don't run into trouble later if you use the videos commercially.
Step 2: Pick a Story and Lock the Script
Topic choice matters most for this kind of short. A good story has three traits. It really happened, it has visible cause and effect (such as something falling over or exploding), and it can be explained with an everyday analogy. Historical oddities and science curiosities both work, and so do engineering accidents.
Sign in to unlock this key section
New accounts get 10 free credits, plus 1 more each day you sign in (none on days you don't). Spend 1 credit to unlock and it stays open for you.
The last instruction, which makes the agent wait for you to say "approved," is the key checkpoint for the whole video. Once the script is locked, the shots, narration, and sound effects are all timed to it. If the script changes, everything after it has to be redone.
Step 3: Record the Narration, Then Build the Visuals
You can record the narration yourself or generate it with an AI voice tool. Save it as an audio file and give it to your AI agent. The agent first detects the timing of each word. Character actions and shot cuts then line up with those timestamps.
Then let it start, but ask for screenshots first:
The script is locked. The narration audio is at [file path]. Please continue with the skill's workflow:

1. First, recognize the word-by-word timing of the narration. List any words you may have misheard so I can confirm them.
2. Lay out the shots according to the script. Render only a few key frames as screenshots first, compare them with the style guide references, and tell me where they still don't match.
3. After I confirm the screenshots, render the full video, add the sound effects and music, and automatically lower the music volume whenever the narration plays.
4. After rendering, check every frame yourself for black frames, white frames, frozen frames, and audio level problems. Fix them before you hand the video to me.
5. Tell me where the final video is and how long this run took.
Review screenshots before a full render, because a full render takes a long time. Changing the style at the screenshot stage saves the most time.
Things to Know
- Reference material is for your eyes only. The reference screenshots bundled with the skill come from other people's shorts. Use them only to compare style. Don't publish them, and don't copy their scripts or characters.
- The first short is slow. You will set up the environment, review screenshots over and over, render, and check. That uses a lot of Claude usage. Once you are familiar with the workflow, start from the project you made last time, and it goes much faster.
- The visual style is fixed. The skill is best at one look: flat characters in a 3D town. If you want a different style, you will need to make major changes to the code.
- Check your facts. The biggest risk with true stories is getting something wrong. Review the sources yourself before you publish.
If you want another 2.5D short pipeline built on Blender, read the advanced tutorial on making a vertical 2.5D story short with your AI agent and Blender. If you are new to making explainer videos with Remotion, read how to make an animated explainer video with no editing skills.
Comments (0)
No comments yet. Start the conversation.