

What You'll Get
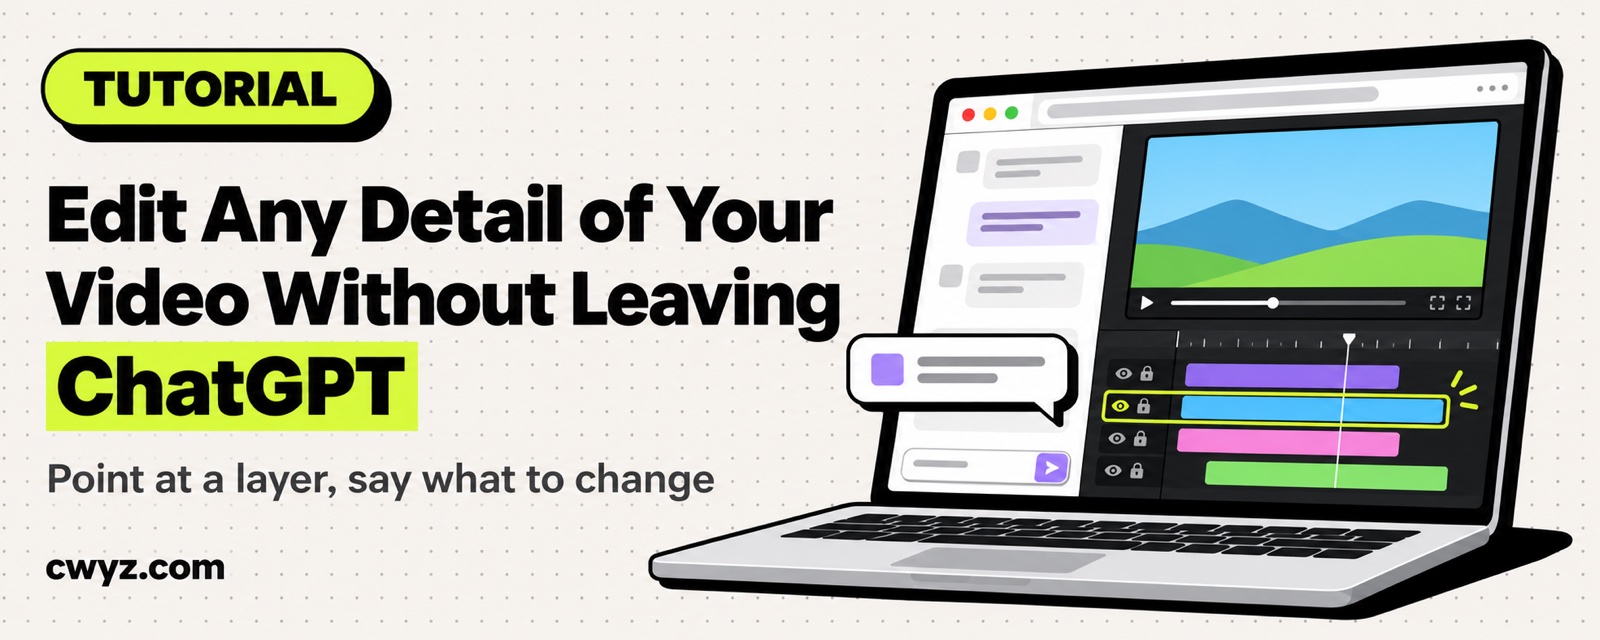
Add Tesseract, the free plugin from Mirage, to ChatGPT, and an editing panel appears right next to the chat. The video plays on top, with a timeline and stacked layers underneath. Describe the video you want in plain language. ChatGPT builds an editable project on your computer, renders it, and shows you the result. If something's off, click that layer and tell it what to change, and it only touches that spot. You don't need to learn editing software or bounce between apps. This article includes 4 copy-ready prompts.
First, get the roles straight: ChatGPT does the cutting. You watch the cut and point out what's wrong. The first time it sets up the engine, it will ask you a few questions. Just answer honestly.
How Tesseract Works
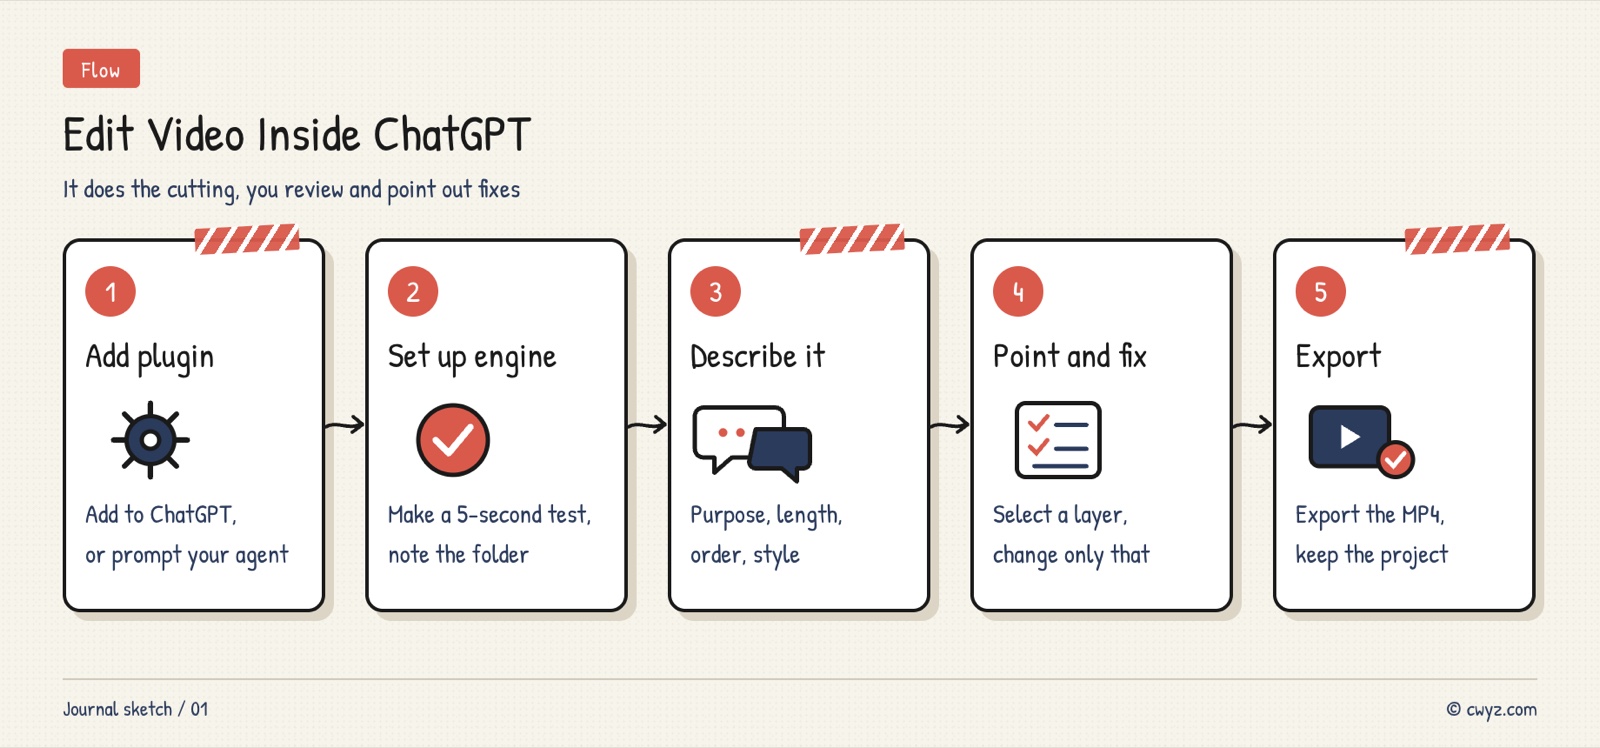
Tesseract has two parts. The first is a set of Skills, which you can think of as editing manuals written for the AI. They teach it to cut footage and make animated captions, and also to build 3D scenes and design cover images. The second is the editing engine installed on your computer. The AI uses the manuals to call the engine, builds the video as a .tsrct project file, and renders it. The project stays on disk, so every time you ask for a change, the AI works on the same project instead of generating everything from scratch.
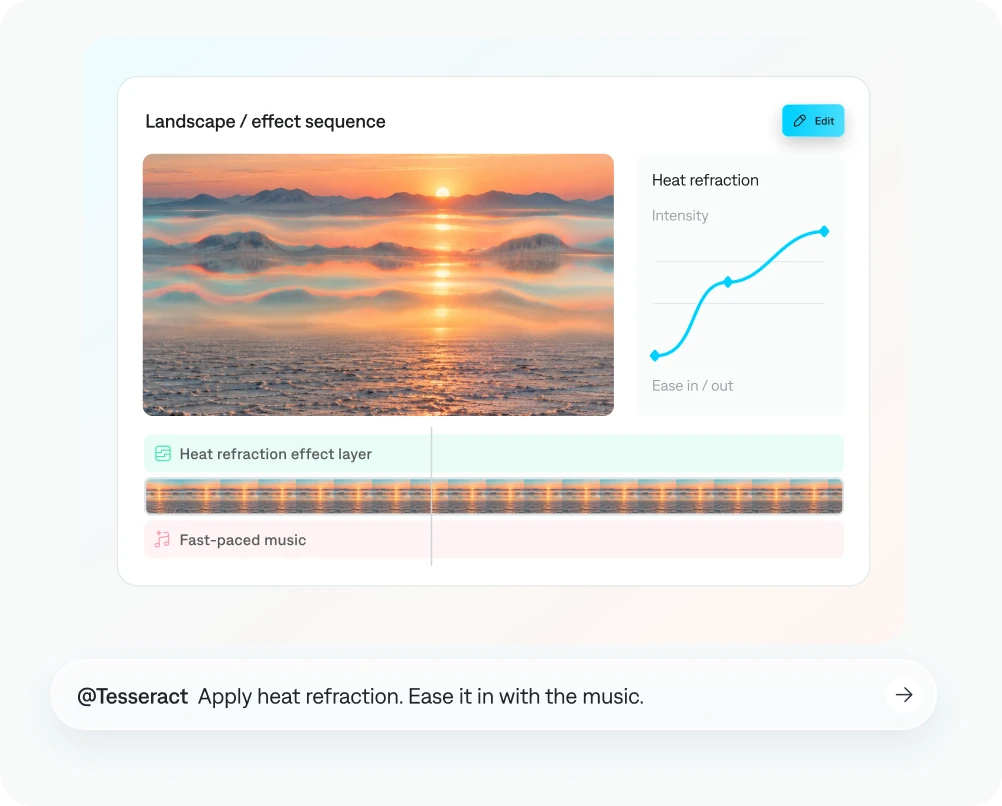
Image from the Tesseract GitHub repository README.
Keep these three things in mind before you start:
- Free, but the AI model costs extra: The official docs say the engine is free on Mac, Windows, and Linux. Your ChatGPT subscription and usage limits still apply as usual.
- Everything runs on your computer: Your footage and project files are stored locally. The engine itself doesn't call AI to generate visuals, voiceovers, or transcripts. It only handles editing, animation, and rendering.
- Basic usage data is reported by default: It sends only things like command type, version, and operating system. It doesn't send your prompts, file names, or content. If you don't want this, ask ChatGPT to turn it off.
Step 1: Add the Plugin to ChatGPT
Open the Tesseract GitHub repository page and click Add to ChatGPT. You'll be taken to ChatGPT's plugin page, where you click add. The plugin includes the latest Skills, and they update automatically. It also has an optional sign-in that unlocks extra features. You can skip it the first time you use it.
Other AI agents work too. The official docs name Codex, Claude Code, and Cursor as supported. Start a new chat and send them this prompt:
Help me install the Tesseract video editing tool: install the latest Tesseract Skills from https://github.com/mirage-hq/Tesseract and finish any setup it needs.
Requirements:
1. Before installing any software, tell me what you're installing and where, and wait for my approval.
2. If a system security prompt blocks the installation, don't try to get around it. Show me the exact prompt text and I'll handle it myself.
3. When it's done, tell me in one plain sentence: it's ready to use, and how to ask you to use it from now on.
This prompt is written so that you approve every install. Security blocks on Mac and Windows should be reviewed by you, not quietly bypassed by the AI. Skills installed this way won't update automatically, so send this prompt again whenever you want to upgrade.
Step 2: Have It Set Up the Editing Engine and Make a Test Clip
The plugin only includes the manuals. The editing engine gets installed on your computer the first time you use it. You don't need to look for a download yourself. Just send this:
@Tesseract I'm using you for the first time. First check whether the Tesseract editing engine is installed on my computer and whether the version is correct. If it's missing, tell me what needs to be installed and wait for my approval before installing it.
Once it's set up, make a 5-second test clip: white background, a line of text "Hello, Tesseract" fades in at the center, 16:9.
When it's done, show me the rendered video and the timeline, then tell me:
1. Which folder the project file is saved in;
2. Whether usage data reporting is currently on or off, and how to turn it off.
If the test clip renders, the plugin, engine, and renderer are all working. The last two questions tell you where files are saved and where the privacy setting is. If you want reporting off, just reply "Turn it off for me."
Step 3: Hand Over Your Footage and Describe the Video You Want
Drag your footage (video clips, screen recordings, music, logos) into the chat, then describe what you want using this format:
@Tesseract Make a video from the footage I just gave you.
- Purpose: [where it will be posted, e.g. Instagram Reels, product website homepage]
- Length and aspect ratio: [30 seconds, vertical 9:16]
- Order of content: [start with a full product overview, then demo three features, end with the logo and website URL]
- Style: [fast pace, large subtitles, colors that match the logo]
- Music: [use the track I gave you, with cuts landing on the drum beats]
Make a first cut and show it to me. Don't add footage I didn't provide on your own. When you're done, tell me which layers you put on the timeline.
Spell out the purpose, length, order, and style up front so it doesn't have to guess. Asking it to list the layers it used helps you read the timeline, which makes the next step easier. The official repo has more ready-made examples, such as cutting travel footage into a beat-synced short, making a 3D coin-flip animation, and designing a cover to match a video's style.
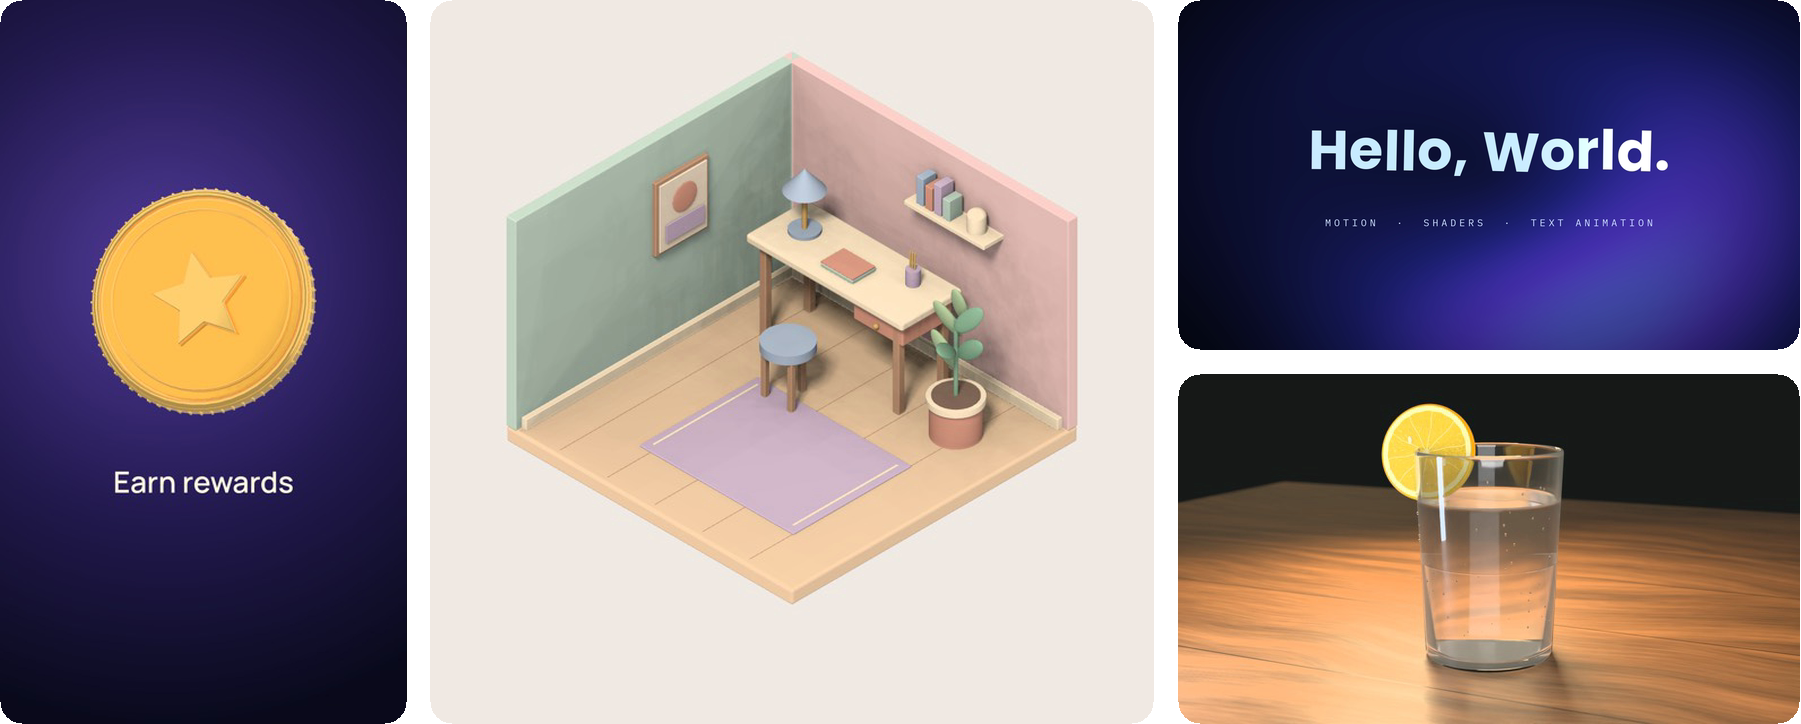
Image from the Tesseract GitHub repository README.
Step 4: Click a Layer and Fix It, One Spot at a Time
Once the first cut is ready, watch it in the panel beside the chat. If something's wrong, click that layer on the timeline, then describe the change in the chat box. The layer you clicked is attached to your next message along with its timestamp, so ChatGPT knows exactly which one you mean.
Sign in to unlock this key section
New accounts get 10 free credits, plus 1 more each day you sign in (none on days you don't). Spend 1 credit to unlock and it stays open for you.
The key to this prompt is "keep working on the project from before" and "only change the selected layer." If you don't spell these out, the AI sometimes rebuilds the whole video, and the parts you already fine-tuned have to be redone. Saving versions gives you a way back if a change goes wrong.
Request only one or two changes at a time. Reviewing after each round is more likely to get them right than listing ten changes at once.
Step 5: Export the Final Video and Keep the Project
Once you're happy, say "Export the final MP4 and tell me where the file is." Keep the .tsrct project file too, since it packages the footage and fonts together. Next time you want changes, start a new chat, give it the file path, and say something like "On this project, bring the title in earlier and soften the motion a bit." You can keep editing without starting over.
Notes
- Footage must be licensed: Any video, music, or font you drop in has to be yours or cleared for commercial use. Tesseract doesn't check this for you.
- Split long videos: Videos of one or two minutes or less work best. For longer ones, make each section separately and join them afterward.
- Don't bypass security warnings: If your computer blocks an install, check it yourself before allowing it. Don't let the AI remove quarantine flags or change system settings.
- Features are still changing: The official plugin for Claude isn't out yet, so other agents need the prompts above to install it. The GitHub repo is the source of truth for versions.
Want to make explainer animations with an open-source tool on your own computer? Read the Remotion beginner tutorial. Already recorded a talking-head video and only want to cut pauses and slip-ups? See Hand Your Recorded Talking-Head Video to an AI Agent and Let It Do the Editing.
Comments (0)
No comments yet. Start the conversation.